


Before you start, click the download buttons on this page to get the latest version of FonePaw Screen Recorder.
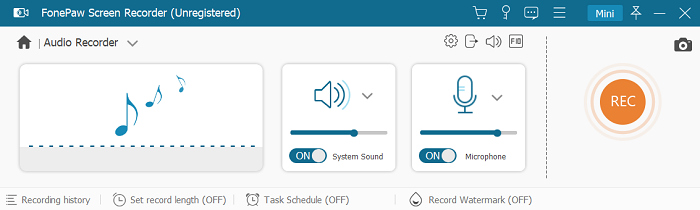
Step 1. Click Audio Recorder
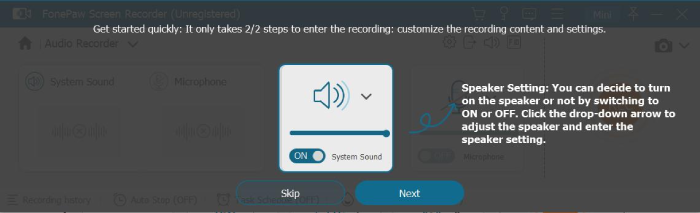
Step 2. Adjust Audio Settings
You can click the ON/OFF buttons to decide whether or not to record sounds from the system or microphone.
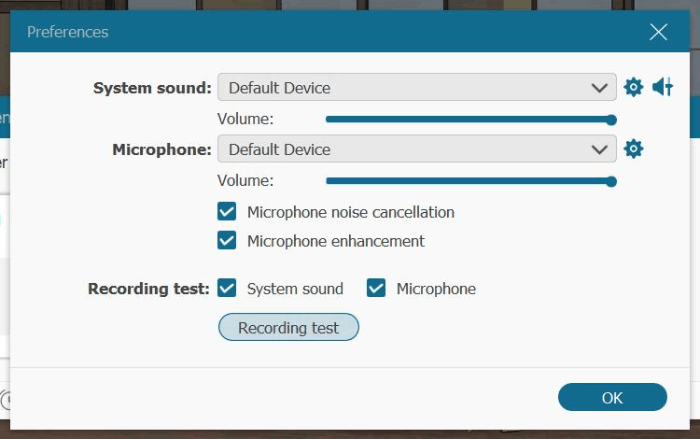
You can also do a sound check in Preferences to ensure that the system sounds and your voice will be recorded. And you may drag the slider to adjust the volume.

Plus, if you have purchased the full version, you can enable Noise Cancellation Recording and Microphone Enhancement (only available on Windows), which can help you record a much clearer voice.
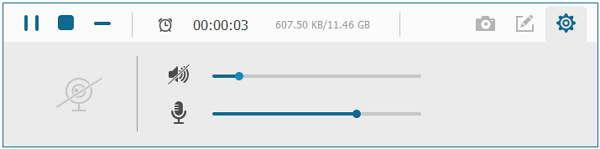
Step 3. Click REC to Start Recording
You can control the audio volume in real-time while recording.
Step 4. Click the Rectangle Button to Stop Recording
After that, you can preview, trim (if necessary), and save the audio recording to your computer.
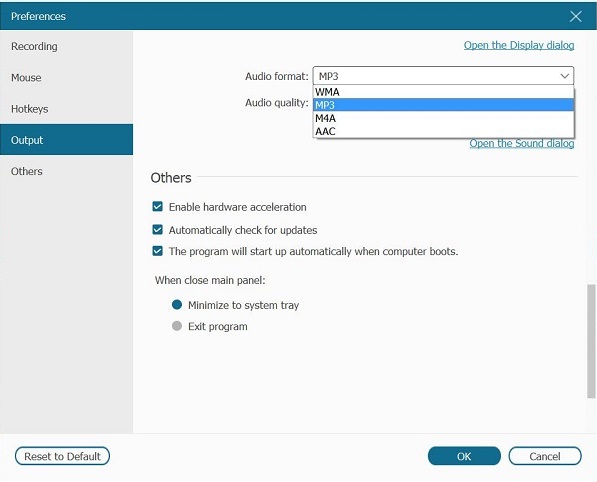
You can decide on what format the audio file should be saved by going to More Settings> Output > Audio Format.
- Ctrl + Alt + R: To start/stop recording
- Ctrl + Alt + S: To pause/resume recording
- Ctrl + Shift + C: Screen capture

Need More Help?
Questions not answered yet? Contact our support team and we’re standing by.