There are a variety of situations when you need to transfer photos from iPhone to iPhone. For example, you may need to sync photos when you change to a new device, back up your memorable photos, or share photos with your friends who also use an iPhone.
Hence, in this blog, we have collected 6 easy ways to guide you on how to transfer photos from iPhone to iPhone without hassle. You can compare all of them and select the best one for your needs!
This article covers photo transfer methods compatible with the latest iPhone 16 and iOS 18 updates.
Way 1. Move Photos from iPhone to iPhone via iOS Transfer Tool
If you want to transfer pictures from iPhone to iPhone flexibly and quickly, you may turn to professional iPhone photo transfer software for help. Here we recommend FonePaw iOS Transfer.
Through a USB cable, FonePaw will read the album information created on your iPhone and display the photos by date. The preview feature ensures a quick and flexible selection of photos, enabling you to effortlessly transfer specific albums or individual photos between iPhones.
Additionally, FonePaw has optimized its compatibility with the iPhone's file system for handling HEIC/HEIF (iPhone-exclusive) format images. This ensures that all your photos are transferred accurately and remain viewable on your new iPhone.
- Efficiently & stably transfer iPhone photos in bulk with one click.
- Preview feature for selective photo transfer between iPhones as you like.
- Easily manage iPhone albums. One-click process to delete duplicates.
- Transfer photos as copies without deleting/overwriting original images.
- Process file transfer between iPhones locally without risk of privacy leakage.
With an intuitive interface design, FonePaw iOS Transfer also enables a super easy-to-grasp process to transfer photos between iPhones:
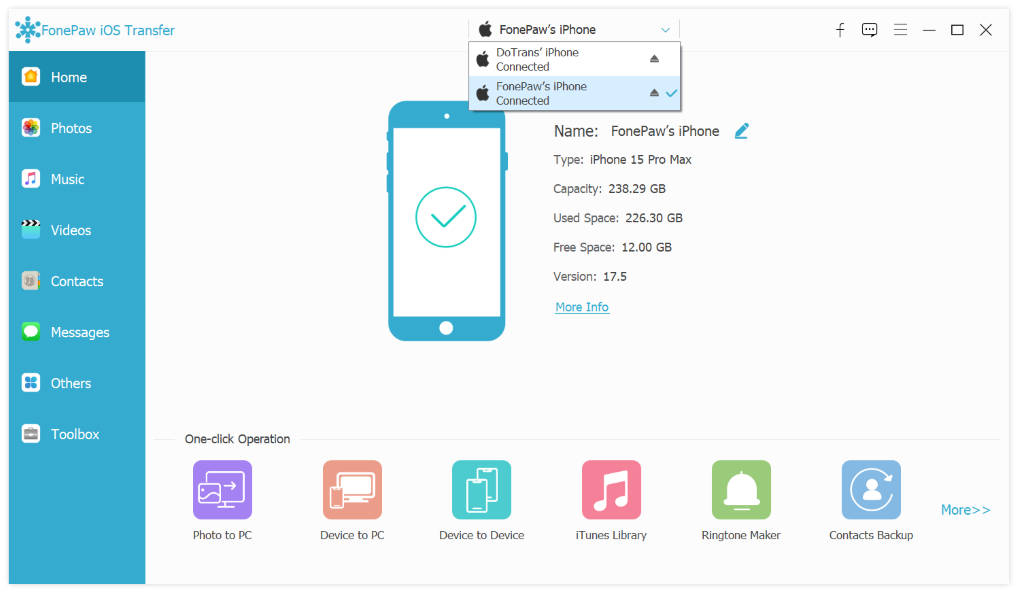
STEP 1. Connect both your old and new iPhones with the computer, then launch FonePaw iOS Transfer.
STEP 2. On the top column, choose the iPhone you want to transfer photos from.
STEP 3. Click Photos from the left panel, and wait for FonePaw to scan photos on your iPhone.
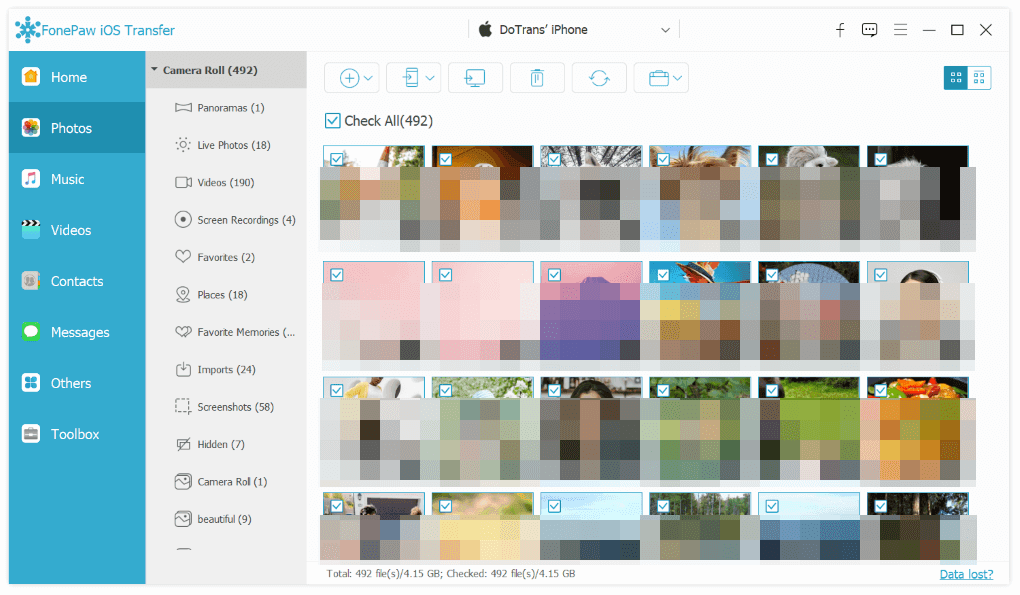
STEP 4. Once the photos are all listed, select the items you desire to transfer to the new iPhone.
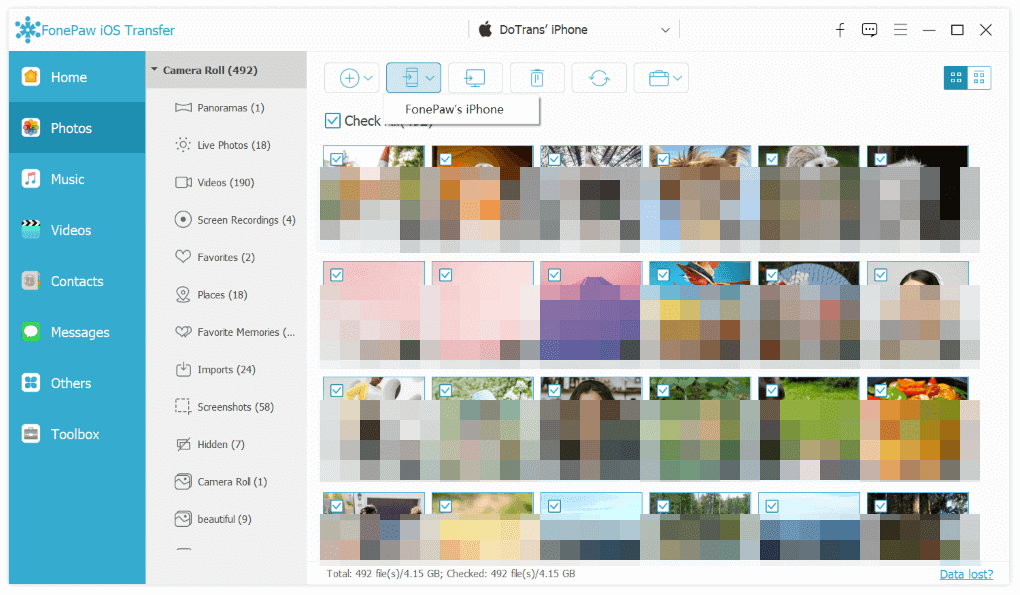
STEP 5. Hit the export icon on the top menu and select another new iPhone as the output destination. Then, wait for Fonepaw to transfer images from iPhone to iPhone within minutes!
Video Guide: Transfer Photos from iPhone to iPhone in 4 Ways
Way 2. Sync Photos between iPhones through iCloud
iCloud Photos works for all your Apple devices that are signed with the same Apple ID. If you have subscribed to a paid iCloud+ plan, it can automatically sync photos from iPhone to iPhone for you.
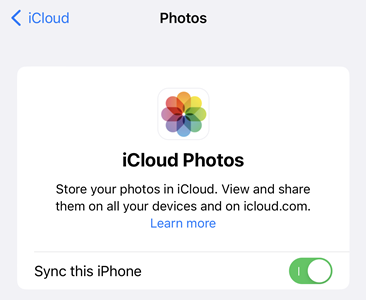
STEP 1. Simply navigate to "Settings" > "Your Name" > iCloud > Photos to enable the "Sync this iPhone" feature on both iPhones.
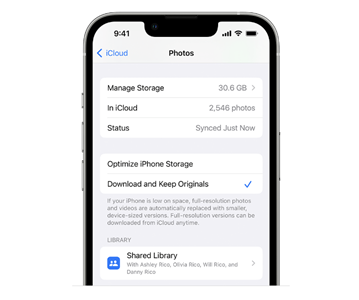
STEP 2. Wait for the photos on the old iPhone to sync to iCloud. When done, you'll see the following.

STEP 3. Samely navigate to "Settings" > "Your Name" > iCloud > Photos on another iPhone, and choose "Download and Keep Originals" and wait for the iPhone to download photos from iCloud automatically.
Way 3. Copy Photos from iPhone to iPhone with AirDrop
If you are not going to sync all photos but only several of them to different iPhone devices, AirDrop can be the best way to transfer photos from iPhone to iPhone wirelessly for free.
STEP 1. Swipe down the control center on both your iPhones to turn on AirDrop. Make sure that the connection status is "Everyone".

STEP 2. On your old iPhone, go to the Photos app and select the photos you desire to transfer.
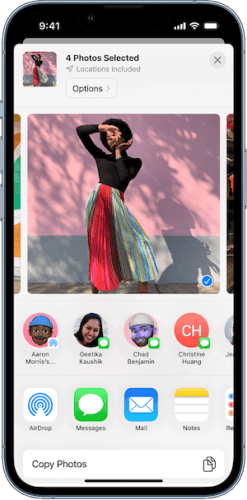
STEP 3. After the photo selection, tap the share icon, then AirDrop.
STEP 4. Finally, select the device you want to transfer photos to and tap Accept on that iPhone.
To use AirDrop, both iPhones should be unlocked and you should keep the screen on.
Way 4. Send Photos from iPhone to iPhone via iMessage
If you have enabled both of your iPhones with the iMessage function, you can transfer photos from iPhone to iPhone for free through iMessage.
STEP 1. Open the Message app and create a new message. Enter the Apple ID you have logged into the device you desire to send photos to.
STEP 2. In the messaging window, tap the Camera Roll icon in the bottom menu bar. Browse and select the photos you desire to transfer.
STEP 3. After the photos are selected and added to the chatting bar, tap the "Send" icon and the photos will be sent to your new iPhone right away.
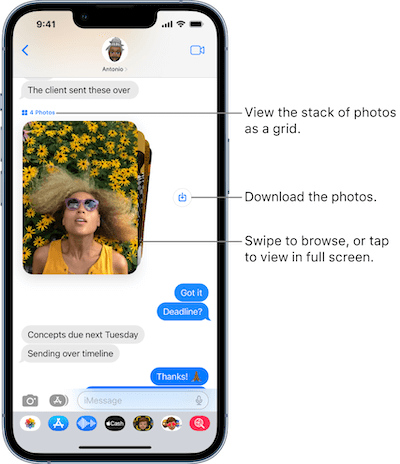
STEP 4. Once you receive the photos in the Message app on your new iPhone, there will be a "Download" icon provided next to the photos for you to save them to the local album in Camera Roll.
Way 5. Share Photos from iPhone to iPhone via iOS Photos App
In addition to the methods mentioned above, if you want to transfer a few individual photos from one iPhone to another, you can do so by creating an iCloud Link or a Shared Album in the Photos app. They can serve as a trick to transfer pictures from iPhone to iPhone.
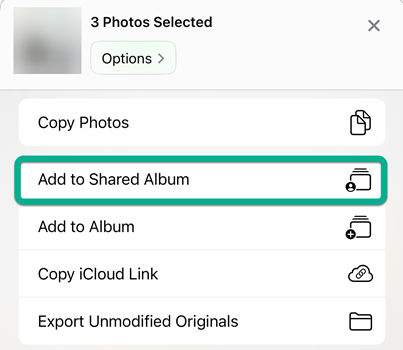
Simply select the photos you want to transfer in the Photos app, then tap the share button.
Option 1. Sahred Album
- Tap "Add to Shared Album", and create a new shared album.
Notice that Shared Album doesn't take up your iCloud storage. But the photos you upload to it may be slightly compressed.
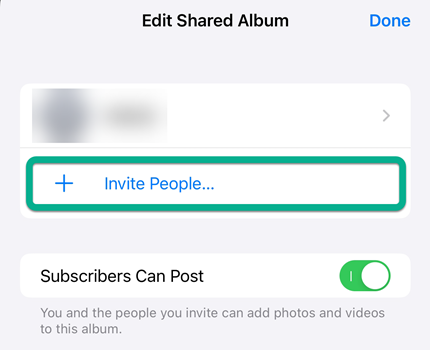
- Then invite the Apple ID on another iPhone to join the Shared Album.
- On the other iPhone, agree to join the Shared Album when prompted. (If you log in with the same Apple ID on both iPhones, skip the invite and agree process.)
- Check the transferred photos in the Shared Album, you can download then locally or just keep them in the cloud.
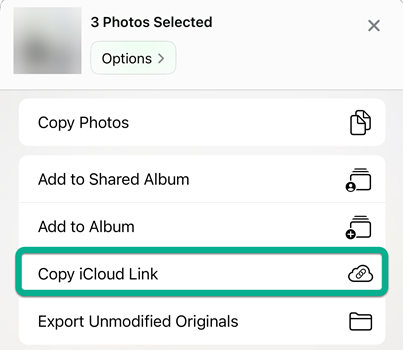
Option 2. iCloud Link
- Tap Copy iCloud Link. You will get an iCloud Link of the selected photos.
- Message the iCloud Link from one iPhone to another.
- Open the link on the other iPhone. Download the photos locally.
Way 6. Transfer Photos from iPhone to iPhone Using iTunes/Finder
Apple’s official desktop software, iTunes (Windows) and Finder (Mac) can not only help you transfer photos from iPhone to computer but also help you transfer photos from iPhone to iPhone. Before you start, notice:
- This method is not workable if you have used iCloud Photos to sync your album images;
- You are recommended to back up your current photos beforehand to avoid losing data while transferring;
- You are only available to transfer local photos from iPhone to iPhone with iTunes/Finder, but not those uploaded to iCloud.
Now, keep reading and grasp the way to transfer all photos from old iPhone to new iPhone with iTunes/Finder by several easy steps:
STEP 1. Connect your old iPhone to computer via a USB cable.
STEP 2. Click the detected device icon in iTunes/Finder and select "Import Pictures and Videos" to back up the photos.
STEP 3. After syncing, connect the new iPhone with it as well.
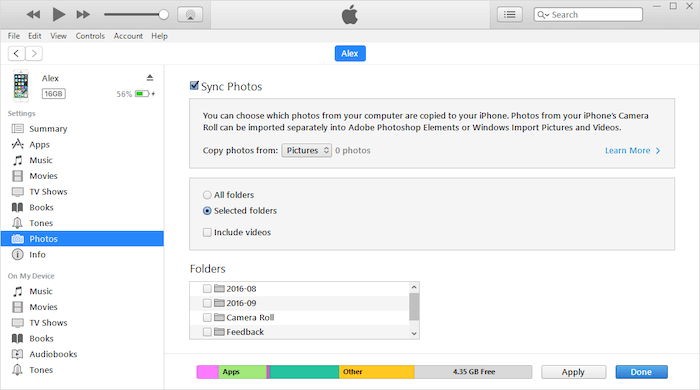
STEP 4. Transfer photos from iPhone to iPhone.
iTunes: click device > "Photos" > "Sync Photos" and select the saved photos on the desktop. Hit the "Apply" icon to complete the photo transfer.
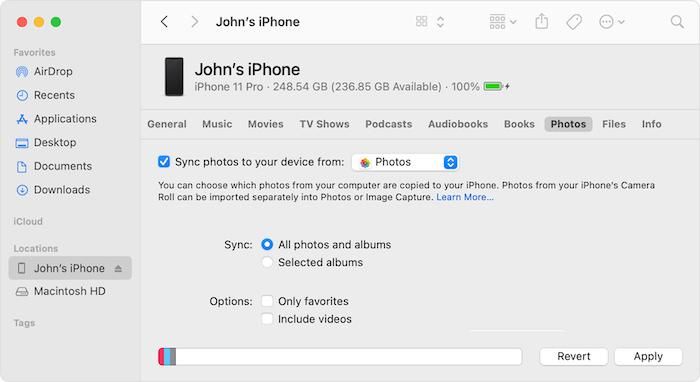
Finder: open the detected device > "Photos" > "Sync photos to your device from". Select the photos you just backed up and click "Apply".
The Bottom Line
Don’t worry about losing your favorite photos when you have purchased a new iPhone and need to switch from the old device to use it. This blog has recommended several helpful ways helping you to transfer photos from iPhone to iPhone without hassle.
Among all of them, FonePaw iOS Transfer guarantees high efficiency and flexible selections of data transfer services. Now, compare all methods and sort out the best pick to process photo transfer right away!

iOS Transfer