When you have used your iPhone for a long time, the storage of your iPhone may run out because lots of photos are taking up the space. So, some of you probably want to transfer photos from iPhone to iPad as backup and free up iPhone device storage. But how to import photos from iPhone to iPad?
This article will mainly introduce 6 ways to transfer photos from iPhone to iPad with a USB cable or wirelessly. Keep reading and choose one method to try.
1. Transfer Photos from iPhone to iPad Without iCloud
Preparations: 2 USB cables, a computer
Works for: ANY iPhone & iPad
To import photos from iPhone to iPad without using iCloud, FonePaw iOS Transfer offers the most convenient solution. Simply connect both your iPhone and iPad to your computer via USB cables, and FonePaw will recognize all the photos on your iPhone, allowing you to preview them. You can freely select the albums and photos you want to transfer.
Moreover, FonePaw transfers a copy of your photos directly from your iPhone to your iPad, without requiring a backup on your computer. This eliminates the risk of accidental deletion or overwriting existing albums during the file transfer between iOS/iPadOS devices.
- Easy Transfer: Simply connect your iPhone and iPad with USB cables to transfer photos effortlessly, without needing an internet connection.
- Fast Transfer: Experience swift transfer speeds, allowing you to move large batches of photos quickly and efficiently.
- Stable Transfer: Enjoy perfect compatibility with HEIC/HEIF images, ensuring a smooth transfer process.
- Lossless Transfer: Maintain the original image quality during transfer, so your photos look just as good on your iPad.
- Secure Transfer: Ensure a secure transfer process that makes your photos remain private and safe.
Step 1. Download, install, and launch FonePaw iOS Transfer on your computer.
Step 2. Connect both your iPhone and iPad to the computer.
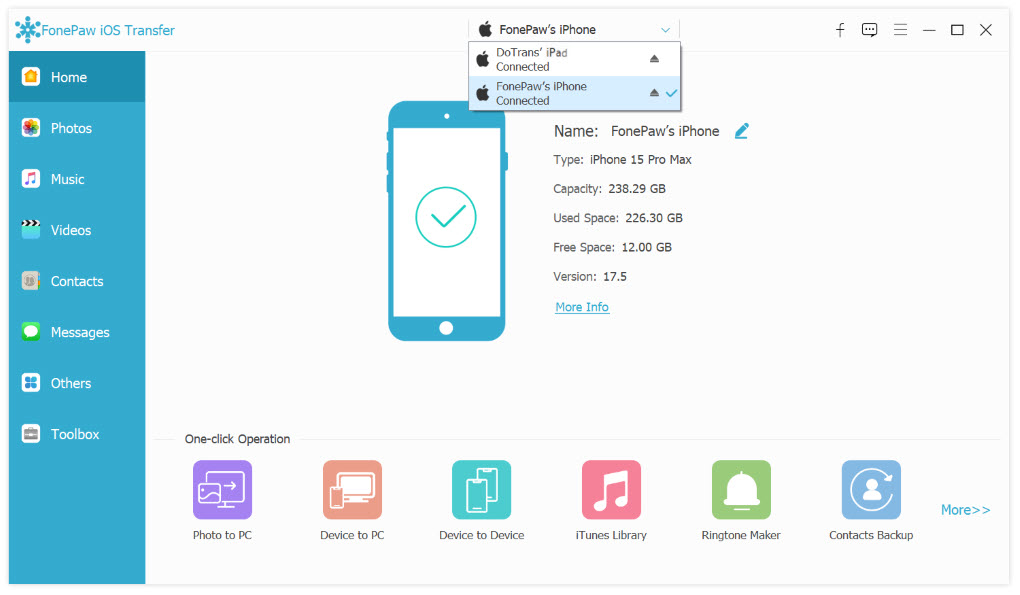
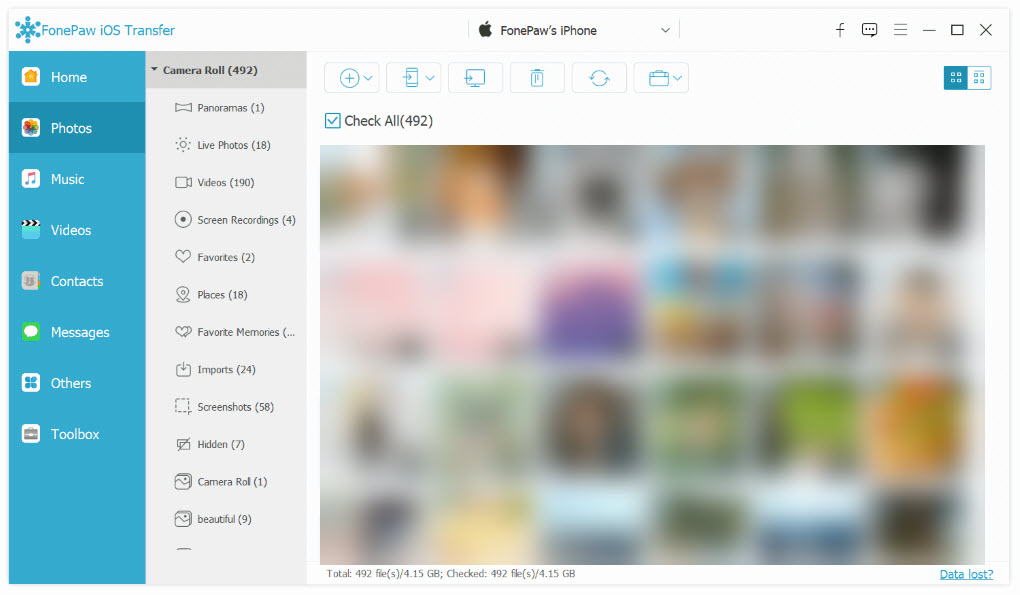
Step 3. Choose your iPhone from the top column, and then choose Photos on the left of the interface.
Step 4. Preview the photos on your iPhone, check what you want to transfer to your iPad, or simply click Check All.
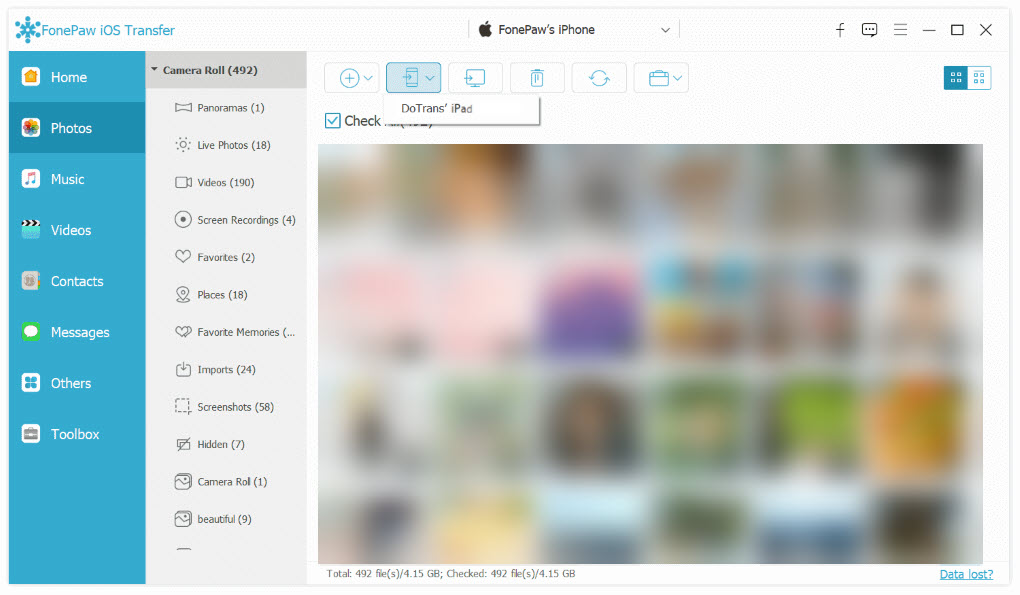
Step 5. Click the Export button, and choose your iPad as the destination. Wait for FonePaw to transfer photos from your iPhone to your iPad.
Video Tutorial: How to Transfer Photos from iPhone to iPad
2. Send Photos from iPhone to iPad via AirDrop
Preparations: /
Works for: ANY iPhone & iPad
Apple has developed the AirDrop feature, which works like Bluetooth to let you transfer data between Apple devices wirelessly. So, using AirDrop is also a fast way for you to send photos from iPhone to iPad just by several taps with your fingers.
Step 1. Turn on the AirDrop feature on both your iPhone and iPad from the Control Center. Remember to choose "Everyone for 10 minutes" on your iPad.

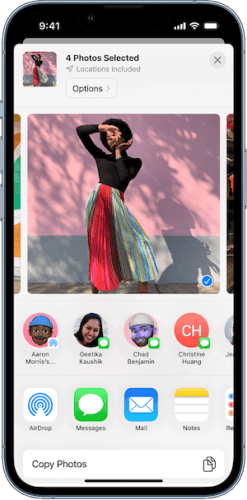
Step 2. Go to the Photos app on your iPhone, and choose the photos you want to send to your iPad.
Step 3. Tap the share button then AirDrop. Choose your iPad on the pop-up page.
Step 4. Tap Accept on your iPad if prompted.
Besides, you can also use AirDrop to transfer iPhone photos to Mac.
3. Directly Import Photos from iPhone to iPad with USB Cable
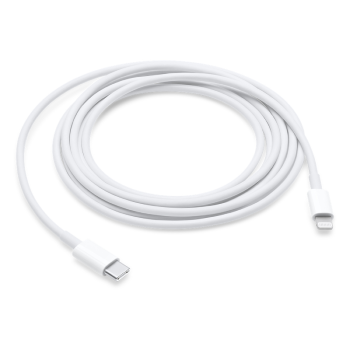
Preparations: Your iPhone charging cable (USB-C to lightning or USB-C to USB-C)
Works for: iPad with a USB-C port, any iPhone
The USB-C port on the iPad makes data transfer a breeze. Simply connect your iPhone to your iPad using the iPhone's charging cable, and you can directly import photos from iPhone to iPad using the Photos app on your iPad. This method works regardless of whether your iPhone has a Lightning or USB-C port. However, it's recommended to use the original charging cable that came with your iPhone for optimal performance.
Step 1. Use your iPhone charging cable to connect both your iPhone and iPad.
Step 2. Enter your iPhone passcode to trust the iPad when prompted.
Step 3. Open the Photos app on your iPad. Locate your iPhone under Devices from the left panel.
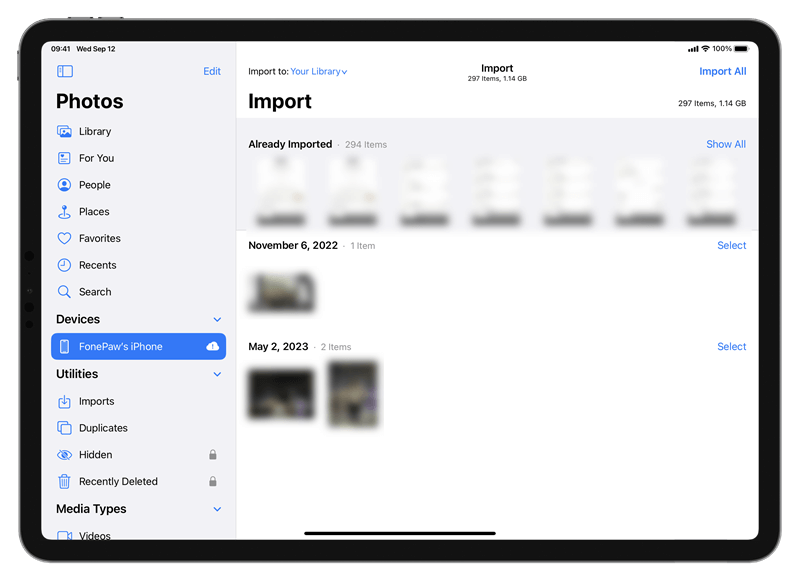
Step 4. Select the photos you want to import from your iPhone to iPad. Then tap Import All on the top right corner.
4. Sync Photos from iPhone to iPad through iCloud
Preparations: Enough iCloud storage
Works for: ANY iPhone & iPad that logs in with the same Apple ID
If you subscribe to iCloud+ and have iCloud Photos enabled, your photos will automatically sync across all devices logged in with your Apple ID. This means you can effortlessly sync photos from iPhone to iPad, allowing you to access your iPhone photos on your iPad anytime, anywhere. However, ensure you have enough available storage on iCloud for this method to work.
If you prefer not to pay for an iCloud+ subscription, keep reading to discover a trick to transfer photos from iPhone to iPad wirelessly.
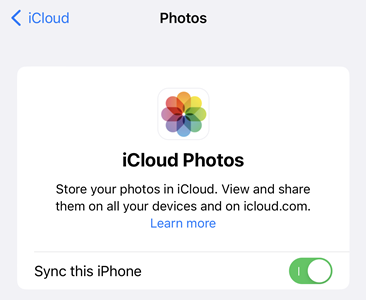
Step 1. On both your iPhone and iPad, navigate to Settings > Your Profile > iCloud > Photos. Enable "Sync this iPhone" or "Sync this iPad".
Step 2. Wait for the photos on your iPhone to sync to iCloud. You may need to keep your iPhone connected to the internet and well-charged.

Step 3. On your iPad, open the Photos app, and wait for iCloud to sync the photos from cloud to your iPad.
5. Share Photos from iPhone to iPad Using Shared Album
Preparations: /
Works for: ANY iPhone & iPad
Here's a trick for sharing photos between Apple devices. Shared Album can be used to share photos and videos with other Apple IDs. The best part is that it's free, unlike other cloud services that require a subscription (also won't take up your iCloud storage). You can use it to share photos from your iPhone to your own iPad or someone else's iPad.
Step 1. On your iPhone, open the Photos app, and select the photos you want to transfer.
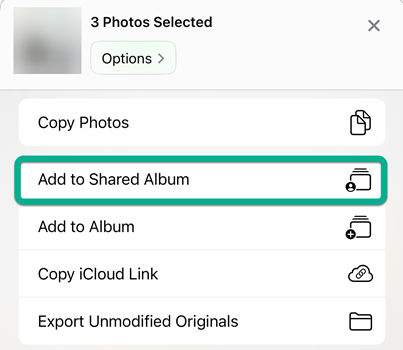
Step 2. Tap the Share button, then Add to Shared Album. You can add them to an existing Shared Album or create a new one to store them.
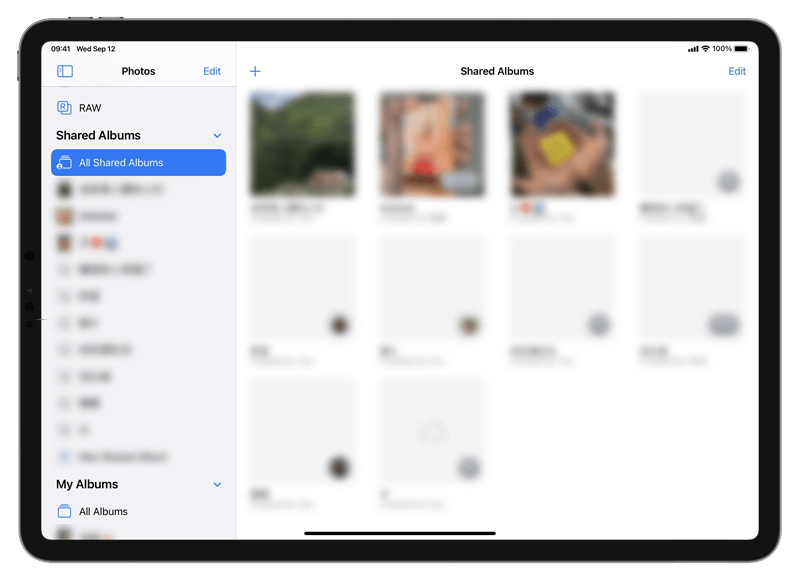
Step 3. To view the Shared Album on your iPad (logged in with the same Apple ID on your iPhone), you simply go to Photos > Shared Album.
To view the Shared Album on others' iPads, you may invite them to join the Shared Album first
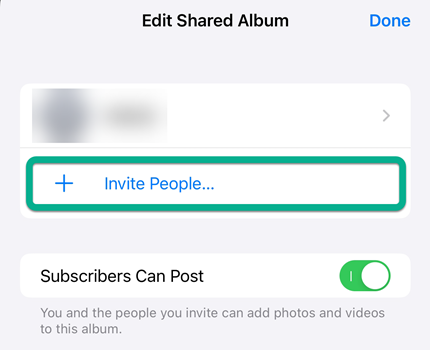
After they agree to join, the Shared Album created on your iPhone can be viewed on their iPads, which means the photos have been transferred from iPhone to iPad.
Note: Keep in mind that free methods often come with some drawbacks. The photos you upload to Shared Album will be slightly compressed compared to the originals in your iPhone's photo library, but this shouldn't affect the viewing quality.
6. Move Photos from iPhone to iPad via External Storage Devices
Preparations: An external storage like a USB drive, external hard drive, or SD card
Works for: ANY iPhone & iPad
In addition to the methods mentioned above, you can also transfer photos from iPhone to iPad using traditional methods through external storage devices. These devices include USB drives, external hard drives, or SD cards. This method is suitable for transferring a small number of photos. For transferring large batches of photos from iPhone to iPad, we recommend using the professional tool FonePaw iOS Transfer.
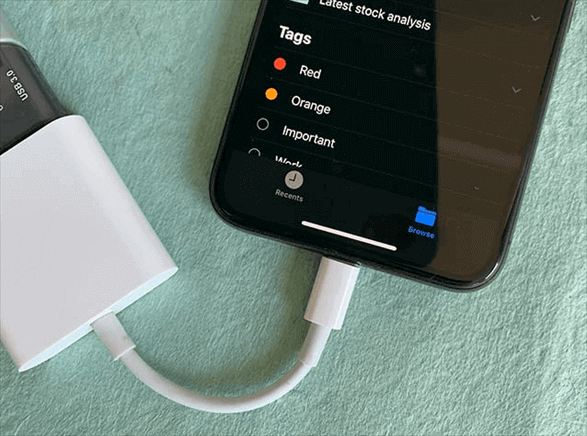
Step 1. Attach the external storage to your iPhone with a lightning-USB adapter (for iPhone 14 series or earlier models) or a USB-C cable/adapter (for iPhone 15 series and later models).
Step 2. In the Photos app on your iPhone, select the photos you want to transfer.
Step 3. Tap the Share button > Export Unmodified Original. Choose your external storage device from the list, and tap save.
Step 4. Disconnect your iPhone and the external storage device. Connect your iPad and external storage.
Step 5. On your iPad, go to Photos app > Devices, choose the external storage devices, and import photos from it.
FAQs About Transferring Photos from iPhone to iPad
Why can't I sync photos from iPhone to iPad via iCloud?
You may have turned off the "iCloud Photos" functions on any of your iPhone or iPad, so the uploaded photos fail to be loaded from iCloud successfully. Or when iCloud doesn't have enough space to keep photos, they can't be backed up successfully. So there are no photos that can be loaded and synced to iPad.
How do I transfer photos from my iPhone to my iPad without iCloud?
There are 5 ways to transfer photos from iPhone to iPad without iCloud. Check them in the chart below, they won't cost you a penny to subscribe to the iCloud+ plan.
| FonePaw iOS Transfer | Easy, fast, stable (need a computer) |
| USB Cable | Convenient but need a suitable cable, slow |
| AirDrop | Easy to process but unstable |
| Shared Album | Free, but may compress the image quality |
| External Storage | Stable, wirelessly, but need an adapter |
Final Words
All six methods mentioned above can help you easily transfer photos from iPhone to iPad. If you want your photos to sync automatically between your iPhone and iPad, iCloud is a great option, although the subscription fee might be a concern. Alternatively, the shared album feature is a good free option for transferring photos from iPhone to iPad wirelessly.
However, if you need to transfer a large number of photos from iPhone to iPad, we highly recommend the professional software FonePaw iOS Transfer. Its fast, stable, and secure transfer capabilities are just what you need.

iOS Transfer