iPad is a powerful device for capturing and sharing memories. Whether you want to share your favorite moments with friends and family who use iPads or simply manage your photo libraries across multiple devices, transferring photos from one iPad to another is essential. This process should be effortless and instant, especially when you're on the go or need to sync multiple devices. While Apple's ecosystem offers several integrated solutions to facilitate this, some external apps and tools can also expand your options.
In this guide, we will explore 6 effective methods to transfer photos from iPad to iPad, each tailored to different needs and preferences. Whether you prefer using built-in iOS features or external tools, there's a solution here for everyone.
Way 1. Transfer Files from iPhone to Mac with iOS Transfer
One of the most efficient and flexible ways to transfer photos from one iPad to another is by using a dedicated iOS transfer tool. Among the various tools available, FonePaw iOS Transfer stands out as one of the best iOS transfer apps for its reliability and powerful features.
FonePaw iOS Transfer is a versatile software designed to manage and transfer files between iOS devices and computers. This tool ensures that photos are transferred without any loss in quality and supports a wide range of image formats, including Apple's HEIC/HEIF. Users can preview and select specific photos for transfer, making it easy to manage large photo libraries. It excels in managing and transferring large volumes of images in batches, and it also supports importing photos from iPhone to Mac.
- Supports various data types including photos, music, videos, contacts, and SMS.
- Compatible with a wide range of photo formats, including Apple's HEIC/HEIF
- Supports the transfer of multiple photos or entire albums at once
- Ensures that photos retain their original quality, with no compression or data loss.
- Allows users to preview photos on their device before transferring
- Facilitates quick backup and restore of iOS data with one click.
How to transfer photos from iPad to iPad with FonePaw iOS Transfer:
Step 1. Begin by downloading and installing FonePaw iOS Transfer on your computer. The software is available for both Windows and macOS.
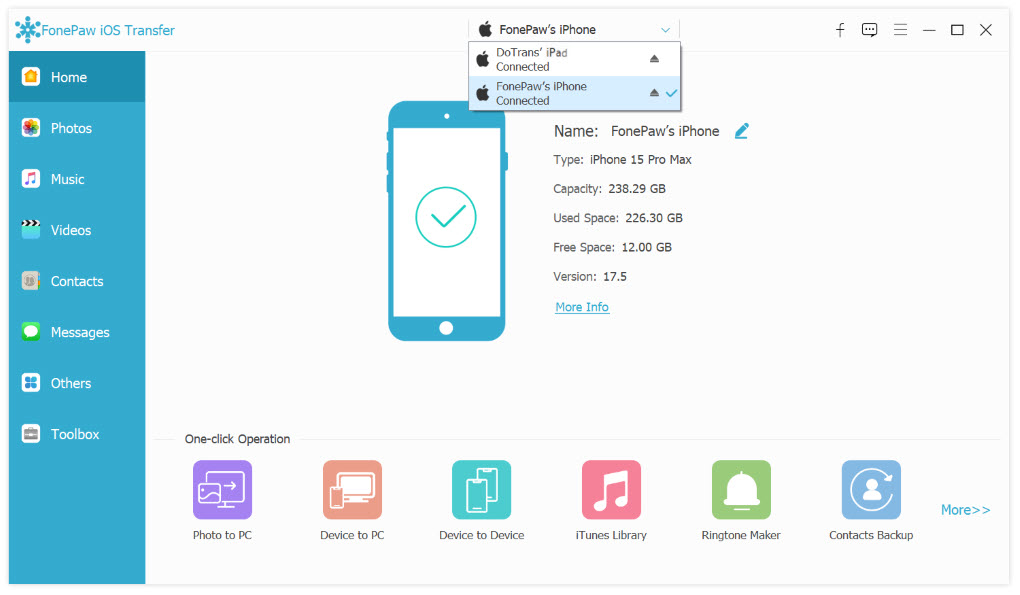
Step 2. Connect both the source iPad and the target iPad to your computer using USB cables. This software will detect your device automatically and show you an interface as below.
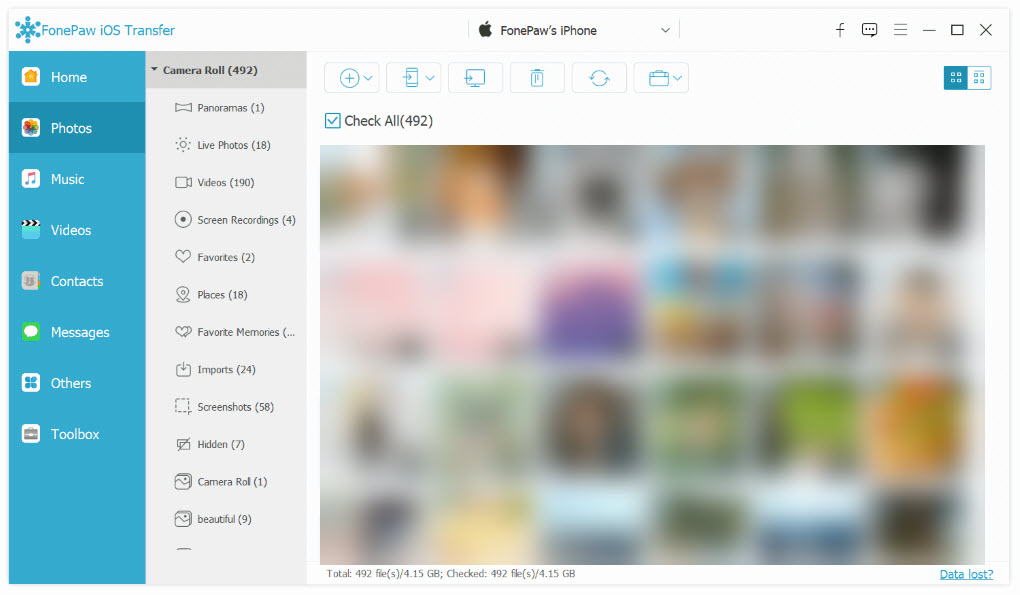
Step 3. Select the source iPad from which you want to transfer photos, go to the "Photos" tab in the software, and then preview and choose the specific photos or albums you want to transfer.
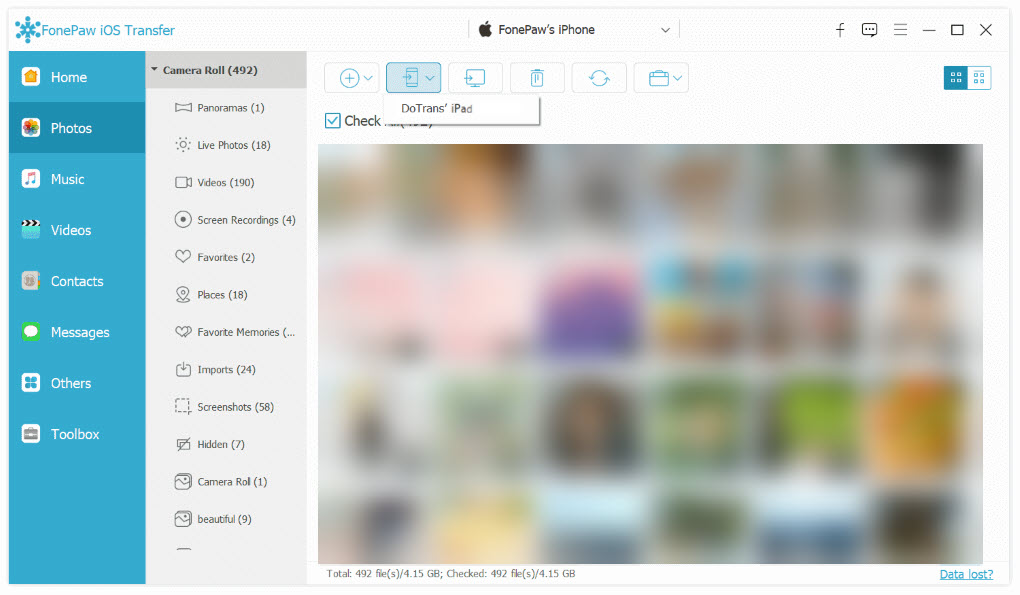
After that, click on "Export to Device" and choose the target iPad from the list of connected devices.
Step 4. Once the transfer is complete, disconnect both iPads from the computer. Open the Photos app on the target iPad to verify that all the photos have been successfully transferred.
Way 2. Send Photos from iPad to iPad via AirDrop
AirDrop is a built-in feature on iOS devices that enables easy and fast sharing of files, including photos, between Apple devices. It uses Bluetooth to discover nearby devices and transfer data, making it a convenient option for transferring photos from one iPad to another without cables or additional software. This method is ideal for quick, wireless transfers between nearby devices, but both devices need to be nearby.
How to transfer photos from iPad to iPad via AirDrop:
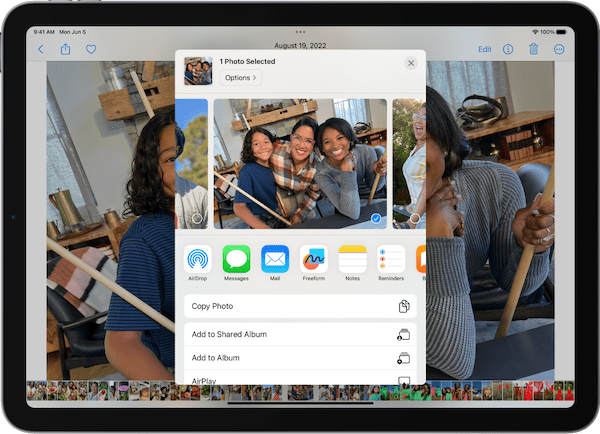
Step 1. On both iPads, swipe down from the upper-right corner to open the Control Center. Tap on the AirDrop icon to enable it. Choose "Contacts Only" or "Everyone" depending on your preference.
Step 2. Open the Photos app on the source iPad and select the photos you want to transfer. You can select multiple photos by tapping "Select" in the top-right corner.
Step 3. Tap the Share button at the bottom-left of the screen. From the share options, tap on the AirDrop icon, and then choose the target iPad.
Step 4. On the target iPad, a prompt will appear asking if you want to accept the photos. Tap "Accept" to start receiving the files.
Way 3. Sync Images from iPad to iPad with iCloud Photos
Using iCloud Photos is a seamless way to keep your images synchronized across all your Apple devices. This service automatically uploads photos from your iPad to iCloud, allowing them to be accessed on any other device logged in with the same Apple ID. iCloud Photos is ideal for users who want continuous access to their photos across multiple devices without the need for manual transfers. However, this method requires sufficient iCloud storage which may incur additional costs and a stable internet connection.
How to transfer photos from iPad to iPad with iCloud Photos:
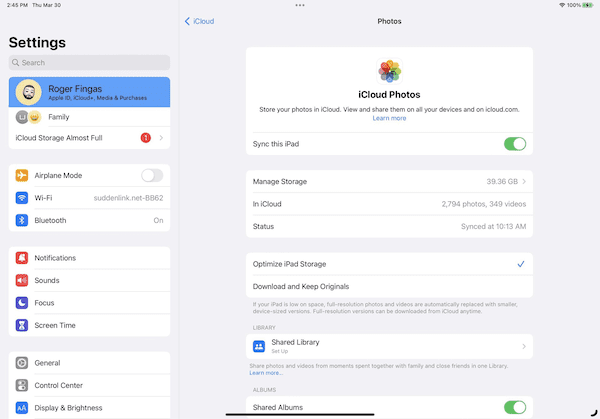
Step 1. On each iPad, go to Settings > Apple ID > Cloud > Photos. Toggle the iCloud Photos switch to enable it.
Step 2. Ensure both iPads are connected to Wi-Fi to allow photos to upload to and download from iCloud.
Step 3. Once iCloud Photos is enabled and devices are connected to Wi-Fi, your photos will begin syncing across all devices with the same Apple ID. Any new photos taken will automatically appear on all connected devices.
Way 4. Transfer Photos from iPad to iPad via Wi-Fi
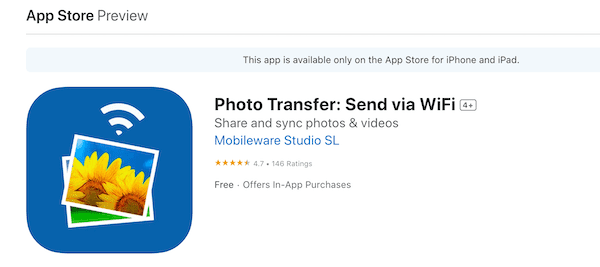
Transferring photos via Wi-Fi is an efficient method that requires both iPads to be on the same network. Using a dedicated app like Photo Transfer App makes this process straightforward and fast. It's designed for ease of use, allowing quick and efficient transfers between iPhone/iPad without iCloud or physical cables or. In addition to the same Wi-Fi network, this method involves using third-party apps that need to be trusted and installed.
How to transfer photos from iPad to iPad via Wi-Fi:
Step 1. Download and install Photo Transfer App on both iPads. Ensure both iPads are connected to the same Wi-Fi network.
Step 2. Open the Photo Transfer App on both the source and target iPads. On the source iPad, select the photos you want to transfer. The app allows you to choose individual photos or entire albums.
Step 3. Follow the in-app instructions to start the transfer process. Select the target device from the available devices list.
Step 4. On the target iPad, accept the incoming transfer request and save the photos.
Way 5. Move Files from iPad to iPad via External Storage
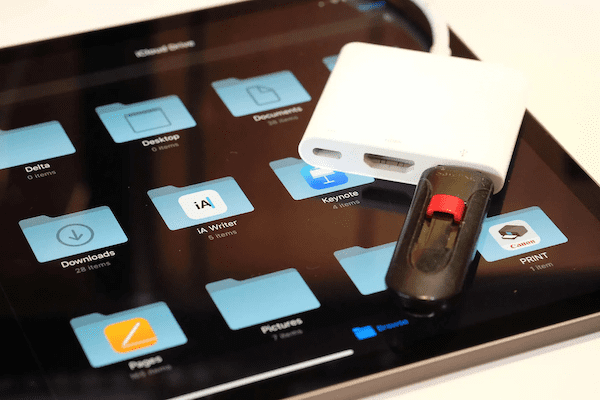
Transferring photos via external storage devices, such as USB drives or SD cards, is a reliable option when direct transfers aren't feasible. It involves using an adapter to connect the storage device to your iPads. This approach is ideal for users who prefer a physical method of transferring data without relying on cloud services, but the process can be slower and more cumbersome compared to wireless methods.
Step 1. Use an appropriate adapter to connect the external storage device to the source iPad.
Step 2. Open the Files app on the source iPad, select the photos you want to transfer, and then move or copy the selected photos to the external storage device.
Step 3. Safely eject the external storage device from the source iPad and plug it into the target iPad.
Step 4. Access the storage device through the Files app on the target iPad, then select and copy the photos from the external storage to the target iPad.
7 Ways to Transfer Photos from iPhone to External Hard Drive
How to Transfer Photos from iPhone to Flash Drive (5 Ways)
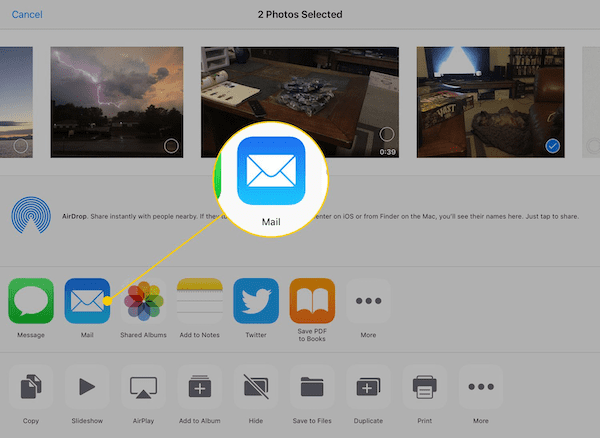
Way 6. Send Photos from iPad to iPad via Message/Email
Sending photos via message or email is a straightforward method for transferring smaller batches of images between iPads. Simply select the desired photos in the Photos app, then use the Share button to send them via the Messages or Mail app. On the target iPad, open the respective app to receive and save the photos. This method leverages the built-in capabilities of iOS devices for quick and convenient photo transfers.
However, this method is limited by file size restrictions, which may require compressing photos, potentially reducing their quality. Also, it can be less efficient for transferring large numbers of photos.
The Bottom Line
In summary, transferring photos between iPads can be achieved through various methods, each with its advantages and limitations. AirDrop offers ease but requires proximity; iCloud ensures automatic syncing but depends on internet access and available cloud storage. Wi-Fi apps provide flexibility but need the same network, while external storage does not require the Internet but involves extra hardware. Messaging and email are convenient for small files but face size restrictions.
For a robust and comprehensive solution, FonePaw iOS Transfer stands out, offering extensive file support and ease of use, making it the recommended choice for managing and transferring photos between iPads efficiently.

iOS Transfer