


I added some custom tones to my iPhone. Yet, there were some of them acting up, so I was going to delete these ringtones from my iPhone with iTunes. However, it turns out that I cannot remove custom ringtones in iTunes as well as in the iTunes store on my iPhone. Is there any way to delete my custom tones?
It's cool for certain when your phone rings with a melody of your favorite songs instead of those tedious and boring default ringtones. However, it costs quite a lot for an audio lasting less than 30 seconds. Also, one tone is absolutely far from enough. You may hence customize your favorite songs into tones for free. However, neither iTunes nor the iTunes Store on iPhone allows you to delete non-purchased tones. Here I'd like to show you how to delete ringtones from iPhone, purchased or non-purchased.
Method 1: How to Delete Custom Ringtones from iPhone Directly
If your iOS device is running on iOS 13 or above, you can directly delete your unwanted custom ringtones on your iPhone. The method is straightforward. You can easily remove any custom ringtone from your iPhone. But if you have a bunch to delete, it might cost you quite an effort. For this situation, you can opt for method 2.
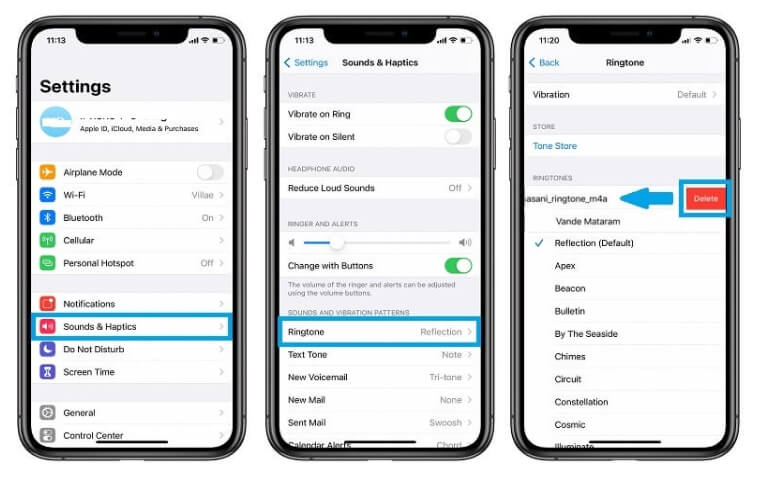
Step 1. Unlock your iPhone. Go to Settings > Sounds & Haptics > Ringtone.
Step 2. The custom ringtones will be shown above the default ones. Simply find the one you want to delete and swipe left.
Step 3. Tap the Delete button to delete the ringtone from your iPhone.
Method 2: How to Delete Multiple Ringtones from iPhone (Purchased & Custom)
If you have multiple ringtones to delete, it would be time-consuming for you to tap on them one by one. To delete iPhone/iPad ringtones at once, a great utility that you can use is FonePaw iOS Transfer. This tool is initially made to help Apple users manage iOS devices' files (opens new window) in an easy way. When deleting ringtones, all you need to do is to select the unwanted tones and click "Delete". It works with almost all generations of iPhone, iPad, and iPod. The latest iOS 17 and iPhone 15 series are supported.
Free Download Buy with 20% off Free Download Buy with 20% off
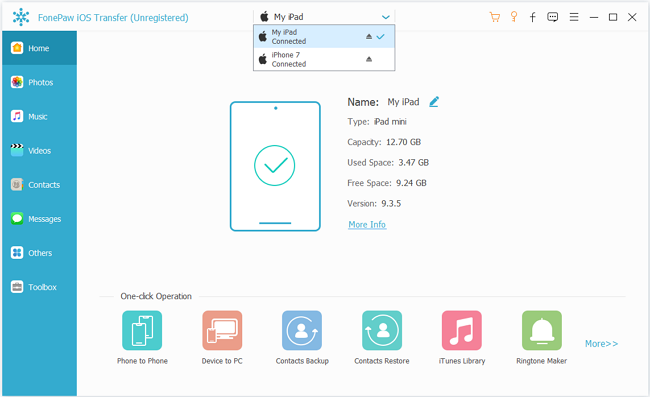
STEP 1. Connect iPhone/iPad to PC
Launch FonePaw iOS Transfer on your computer and then connect the iPhone or iPad to it with USB cable. Once connected, you'll find the basic information of your device displayed on the main interface.
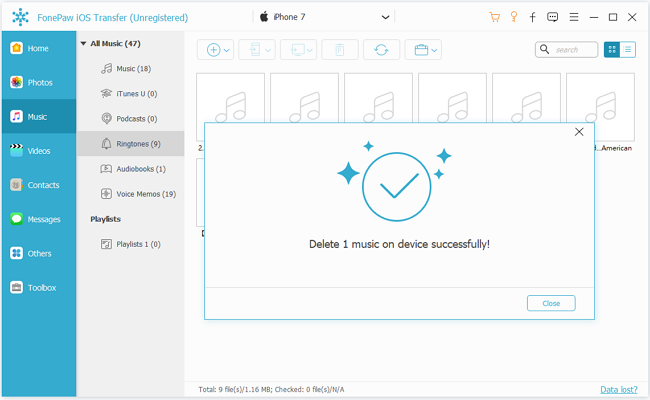
STEP 2. Delete Unwanted Ringtones
Click on the "Music" tab on the left of the menu, you'll see "Ringtones" on the middle menu of the music management window. Click it to reveal all the ringtones on your iPhone. Check all parts of the tones that you want to remove and then click "Delete" button.
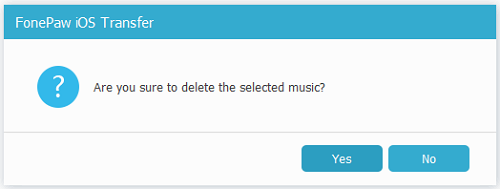
After confirming to delete the rigntones, the music items will be removed from your device.
Aside from erasing ringtones from iPhone and iPad, you are allowed to directly add ringtones to iPhone or backup ringtones to the computer with FonePaw iOS Transfer. Just simply click the "Add" or "Export to" button to do so. In addition, if you want to manage all your other files such as photos, contacts, music, and more, you can navigate among the categories on the left column to have all these done.
Method 3: How to Delete Downloaded Tones on iPhone (Purchased Only)
This method only works for those ringtones you've purchased and downloaded from the iTunes Store. Since you buy them from iTunes, you can delete the downloaded tones directly on iTunes. But many people said that iTunes always failed to delete ringtones from iPhone somehow. Here we're going to do this with iTunes. You should make sure that your iTunes has been upgraded to the latest version so far. Then, follow this tutorial.
STEP 1. Launch iTunes on your Windows PC/Laptop.
STEP 2. Click the Phone-like icon to enter the "Summary" page.
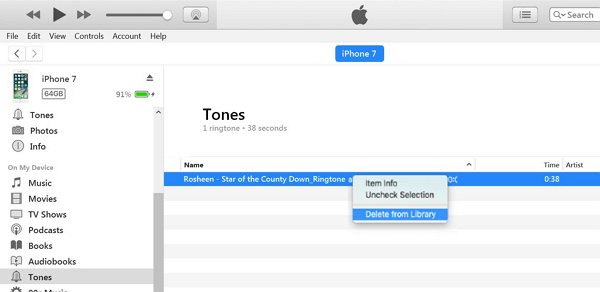
STEP 3. On the left panel, select "Tones" under "On My Device".
STEP 4. Right-click on unwanted ringtones.
STEP 5. Select "Delete from Library" and it's done.
Conclusion
This post provides 3 ways to delete ringtones on iPhone or iPad. If your iOS devices are running on iOS 13 or later, you can simply delete custom ringtones on your device. Otherwise, you can try to do so via iTunes if you have one on your computer.
Since iTunes always fails to delete ringtones from iPhone, it is recommended to try FonePaw iOS Transfer. This software can batch-delete unwanted ringtones, and is way better than iTunes in terms of managing ringtones and data transfer. It allows you to easily transfer songs, videos, photos, movies, books, contacts, and more between iPhone and your computer with ease and vice versa, whether purchased or not.
Free Download Buy with 20% off Free Download Buy with 20% off