


Sometimes it's hard to explain what is happening on your computer in words only. A screenshot or screencast can explain better than a thousand words.
Steps Recorder, previously known as Problem Steps Recorder (PSR), is a screen capture tool that can record screen actions on a Windows computer. You'll find it helpful in recording your steps for troubleshooting, reporting a bug.
Steps Recorder documents your actions on a computer via screenshots and words, if you prefer a screencast, which records your computer screen more directly, get a screen recorder.
What is Steps Recorder on Windows 10/8/7?
What are the functions of Steps Recorder?
Steps Recorder, a built-in Windows tool for recording problems, such as a problem with a computer that is difficult to explain in plain language, allows you to record your screen, keystrokes with annotation, and send the record to a technician to identify and resolve the problem.
Which systems are Steps Recorder used for?
Steps Recorder can be found in Windows 10/8/7. On Windows 7, they are called the Problem Steps Recorder, also known as the PSR.
What is the format of the Steps Recorder files?
Steps Recorder will save your screen record as a ZIP document.
Where is Steps Recorder Saved?
When you click Stop Record, a window will pop out. Click Save and a window will pop out. You can save it to the desktop or a specific folder that you've built.
How to use Steps Recorder?
It is easy to start recording your screen with Steps Recorder.
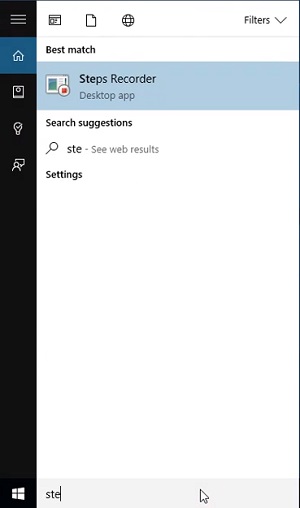
Step 1 Click the Windows Start Menu and find Windows Accessories > Steps Recorder.
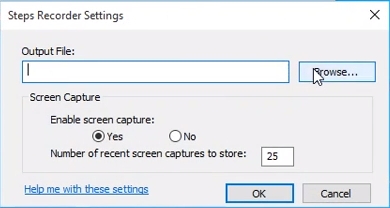
Step 2 Press Settings in the rolling down arrow on the right, and you can choose the file output path. You can also choose to enable the screen capture function or not here.
Step 3 Click the Start Record button.

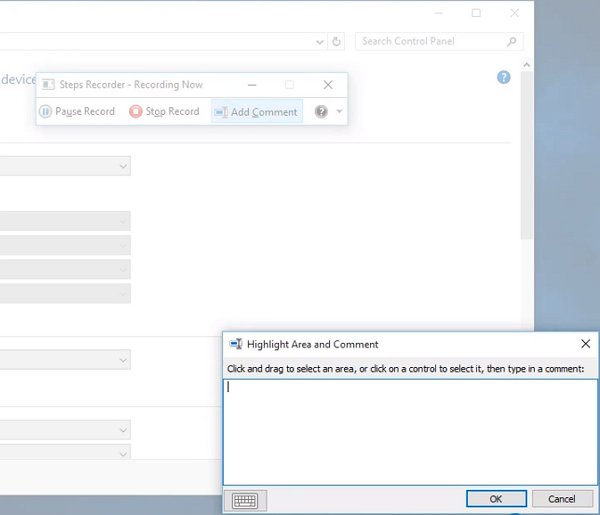
Step 4 You can pause or resume the recording or add comments during the process.
Step 5 Click Stop Record when you have recorded everything you need.
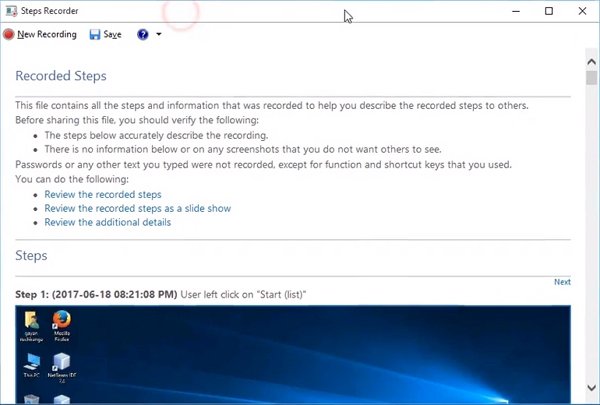
Step 6 The recorded steps will be displayed. Review the document and click Save to save it as a ZIP file.
Alternative to Steps Recorder: Record Screen Video
Steps Recorder is too rudimentary, which can only record Windows screen with pictures and annotation. As there are more advanced ways to record screens, Microsoft has discontinued Steps Recorder.
To record your screen, you can choose FonePaw Screen Recorder (opens new window), which records your screen to video, GIF, or still image. It can also record audio from your computer.
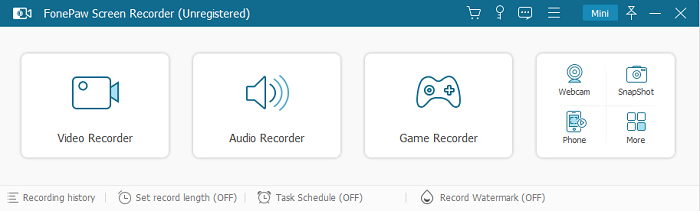
This software supports the system sound and microphone sound recording, which means you can ensure the sound in your system can be recorded along with the screen, and you can also use your voice to explain the steps via microphone during the screen recording.
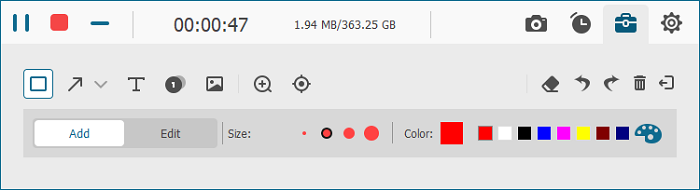
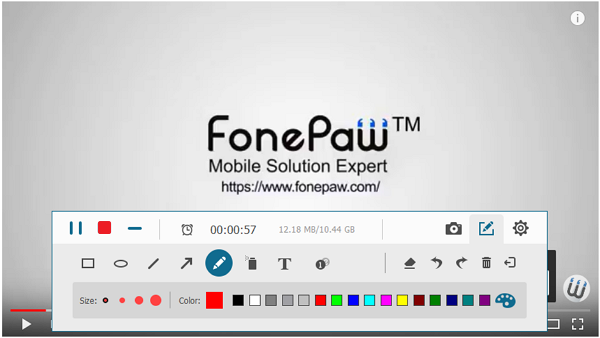
Moreover, the FonePaw recorder has annotation tools to help you better explain what is going on your computer by drawing circles, arrows, texts, etc. on the recording screen.
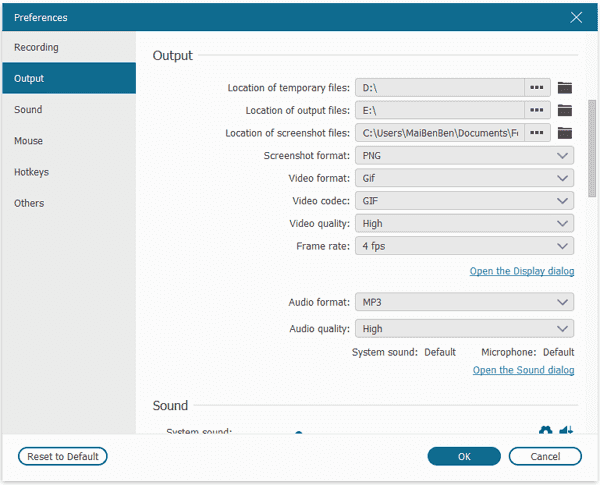
You can choose to save your screen recording in MP4, GIF, which is more advanced and effective than Steps Recorder provided by Windows.
Once you've recorded, you can also trim the video to remove any parts you don't want.
Step 1 Download FonePaw Screen Recorder.
Free Download Buy with 20% off Free Download Buy with 20% off
Step 2 Install the software and launch it.
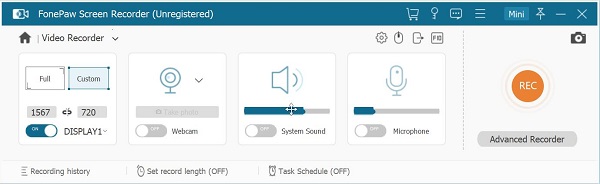
Step 3 Click the Video Recorder button and choose a Custom way for screen recording. Select the area you want to record on the computer screen.
Step 4 Click the Preferences button on the right top corner, from which you can select video format to save the screen capture.
Advanced Recorder
FonePaw Screen Recorder has advanced options, which can record the screen following the mouse cursor or record a specific window only.
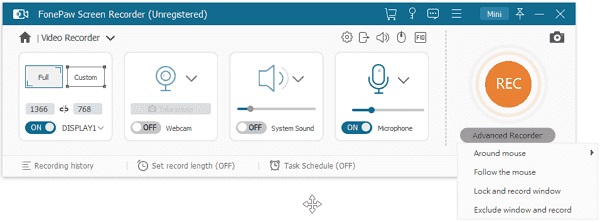
Step 5 Get your desktop ready before you start recording. Turn on the system and microphone sound recording if you want to add your voice in.
Step 6 Click on the REC button and you can start recording.
Now with FonePaw Screen Recorder, it is not difficult for you anymore to demonstrate the screen steps to others.