


While the PS4 is commonly connected to TVs, the process of recording gameplay on the PS4 may present certain challenges. In addition to the limitations of PS4's built-in recording function, the recording of large games often brings a lot of CPU usage to your device. Many PS4 games themselves, for several reasons, prohibit users from recording their game content and graphics.
But in fact, perfectly recording PS4 gameplay and saving the complete recorded video is much easier than you thought. Except for the capture card, which you may have heard of, this article will also teach you other ways to easily record PS4 gameplay for YouTube and more platforms without purchasing an additional external device.
Read on to find out what works for you!
Part 1: How to Record PS4 Gameplay on PC (With Camera!)
Given the high price and complexity of the capture card, you might consider bypassing the TV and using other methods, such as a third-party tool, to help you achieve your goals. FonePaw Game Recorder is the one you are looking for. You can remotely control your TV from PC and use this handy screen recording tool to easily record PS4 gameplay without capture cards.
Besides, FonePaw Game Recorder also has more features that can improve your experience with gameplay recording.
- Allows you to record your webcam with your voice in the gameplay and add them to recorded videos.
- Supports recording 4K 60FPS videos without time limits and customized rate settings.
- Automatically read and display your mouse cursor route and keystroke.
- Has a built-in toolbar to add annotations during the gameplay recording.
- The recorded video can be output in multiple media formats such as MP4, MOV, etc.
Free Download Buy with 20% off Free Download Buy with 20% off
Here are the steps for you to use FonePaw Game Recorder to record PS4. Before starting, please ensure that your PC has successfully remote-controlled your PS4 on TV. Otherwise, you will not be able to continue recording PS4 gameplay on PC.
Step 1: Install PS4 Game Recorder
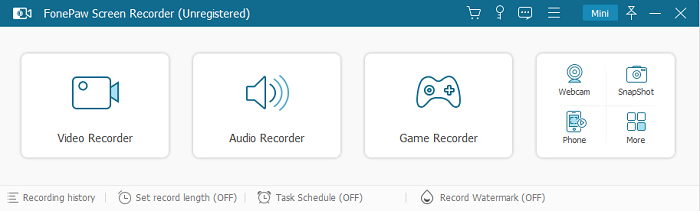
Install FonePaw Game Recorder on your computer.
Free Download Buy with 20% off Free Download Buy with 20% off
Step 2: Connect PS4 to PC
To begin with, you need an HDMI cable and connect your computer to the PS4 and the capture card to make sure that the PS4 gameplay can be projected on your computer screen.
Step 3: Configure the PS4 Game Recorder
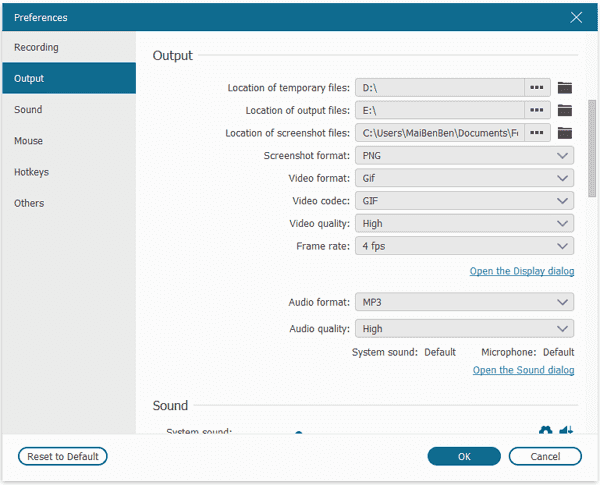
Launch FonePaw Game Recorder, go to Settings > Output, where you select the quality and format of the video that you are going to record. Select a lower quality if you are concerned about the file size.
Step 4: Record Facecam and Voice If Needed
Go back to FonePaw Game Recorder main panel. Select Full Screen and enable the microphone if you want to add commentary. And enable Facecam if you want to record your face.
Step 5: Record PS4 Gameplay on PC
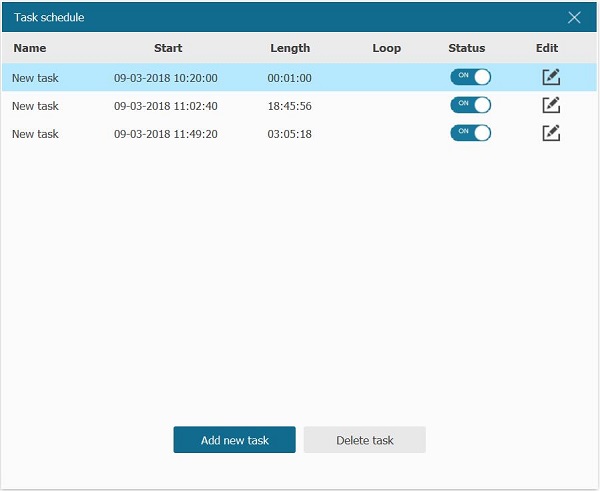
Project the PS4 gameplay to your PC screen. And when you are ready, click Rec button to begin. Or you can click Task Schedule to add a task. The recording will begin and stop automatically according to the schedule you have set up.
Step 6: Take A Screenshot of PS4 Gameplay
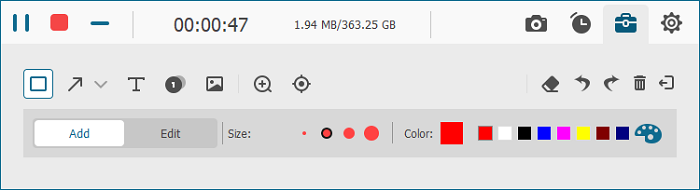
During the recording, you can take a screenshot of your gameplay anytime you want by simply clicking the camera icon.
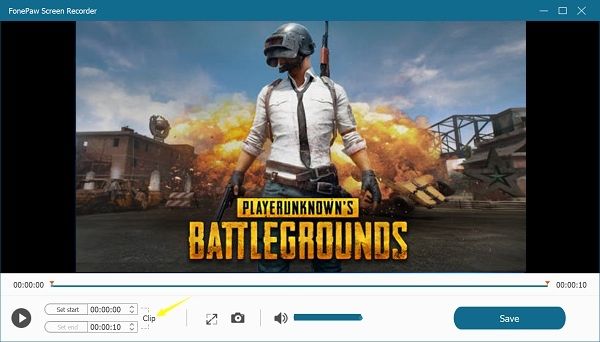
Step 7: Trim PS4 Video Clips
After recording PS4 gameplay, the FonePaw Game Recorder also allows you to trim the video to get the section you need. Click Save to save the recording on your computer.
Part 2: How to Record PS4 Gameplay without Capture Card
If you do not want to download third-party programs, then the best game recorder on PS4 is probably its default recording tool. Many games can be recorded without capture cards on PS4. All you need to do is press the button to start/end recording, and your PS4 gameplay recording video can be saved in the default location.
 Tips:
Tips:
PS4's built-in screen recording function has limitations on recording time, which can be found on Settings. Also, it doesn't allow you to add a webcam or your voice.
Follow the guide below to capture your PS4 gameplay with the built-in recording tool.
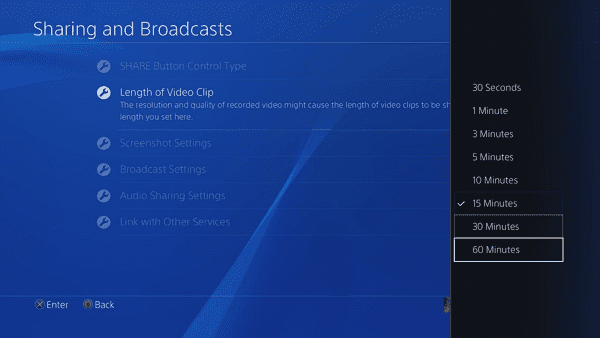
1. Configure Recording Length
By default, on PlayStation 4, your gameplay session will be recorded in a 15 minutes long video. If you would like to record PS4 gameplay longer than 15 minutes or make it the other way around, record only 3 minutes of gameplay, you can configure the recording Length in the Sharing and Broadcast menu on PS4.
- On the PS4 controller, press Share button to open the Sharing and Broadcast menu.
- Select set Video Length. You can select a recording length as long as 60 minutes or as short as 30 seconds.
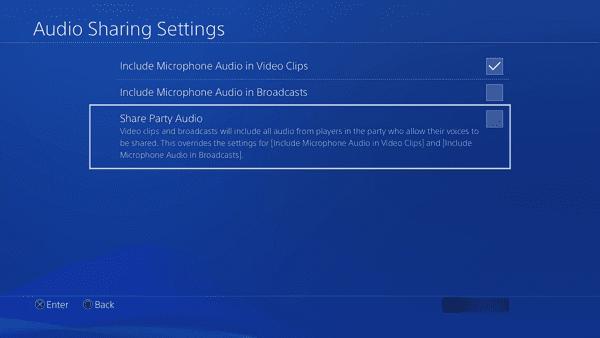
2. Enable Microphone if Commentary Is Needed
PS4 can record gameplay with your voice and even with voices from other players. To do that, make sure you have properly configured Audio Sharing Settings.
- Go to Sharing and Broadcast > Audio Sharing Settings.
- Select Include Microphone Audio in Video Clips.
- If you need to record voices from all players, select Share Party Audio.
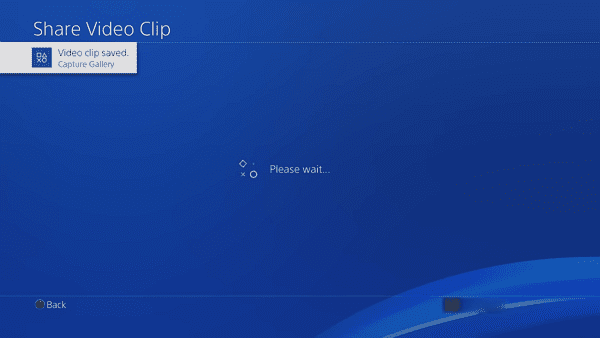
3. Automatically Record PS4 Gameplay
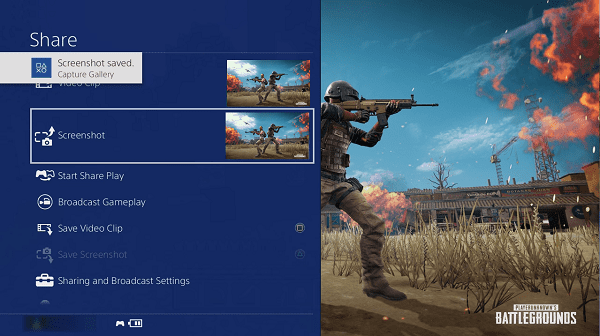
As it is mentioned above, PlayStation 4 keeps recording your gameplay during the whole time but only the last XX minutes of the gameplay will be saved. If you just have an amazing gameplay experience and want to save the recorded video, press the Share button on your controller and select Save Video Clip, and the video will be saved to Capture Gallery. If you don't select Save Video Clip, then the video will be covered once PS4 starts a new recording.
4. Manually Record PS4 Gameplay
Anytime you feel like to record your gameplay, you can manually start and stop a gameplay recording on PS4.
- Double press the Share button on the PS4 controller to initiate a recording. A video clip icon will appear on the left side of the screen, indicating that it is recording the PS4 gameplay.
- To end the video recording, double press the Share button again. A notification will show up, telling that the video clip is saved in Capture Gallery.
If you doesn' stop the recording manually, PS4 will save the recording according to the recording length you have set up when the game session is finished.
Note:
Some games may interrupt/reject your screen recording for reasons like copyright or story needs. So before you start working, make sure the game you want to record won't behave like this.
5. Take A Screenshot on PS4 Gameplay
If instead of a video clip, you would like to take a screenshot of the PS4 game to show up your triumph or something, it can be easily done on PS4, too.
- Press the Share button for one time. In the Share menu, select Screenshot.
- A screenshot of your PS4 game will be saved to Capture Gallery.
6. Edit Videos on PS4
Before sharing your PS4 video to YouTube, Twitch or Facebook, you can edit the video directly on PS4.
- Go to Capture Gallery. Select a video and press the Options button on the controller to open a menu.
- Select Trim option. Use Directional Pad on the Controller to select where you want your video to start and end.
Part 3: How to Record Gameplay on PS4 With Capture Card
The capture card is a device that captures the pictures and actions on your PC screen. With its help, you can record PS4 gameplay while playing them, and encode the recorded video with the capture card for transferring to other media devices for playback. The video files it generates are of high quality, and the entire recording process does not disturb your gaming experience.
However, the disadvantages of the capture card cannot be ignored. Due to the different configurations of different devices, the capture card may cause circumstances like game stutter and frame drop. More importantly, capture cards are usually expensive, and the steps to operate them are very complex, requiring high learning and time costs.
Tips:
For making the process easier to record PS4 gameplay without lag, FonePaw Game Recorder may be a better option.
The detailed steps of recording gameplay on PS4 with capture card are shown below.
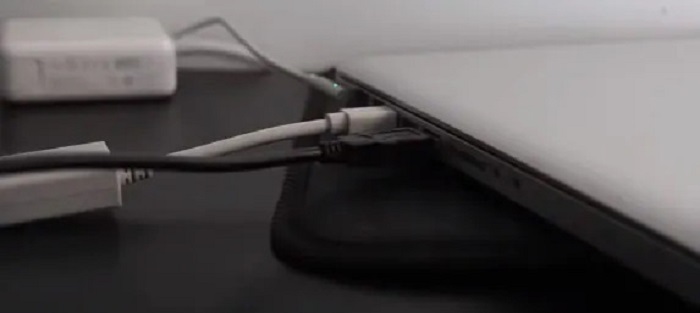
Step 1. Connect Hardware Devices
Use an HDMI cable to connect your PS4 to the game capture device, and a USB cable to connect the capture card to your PC.
Step 2: Check PS4 Settings
Before you start recording gameplay, please make sure that your PS4 system version is the latest, because some older versions of the PS4 software may not allow you to record screens on external devices.
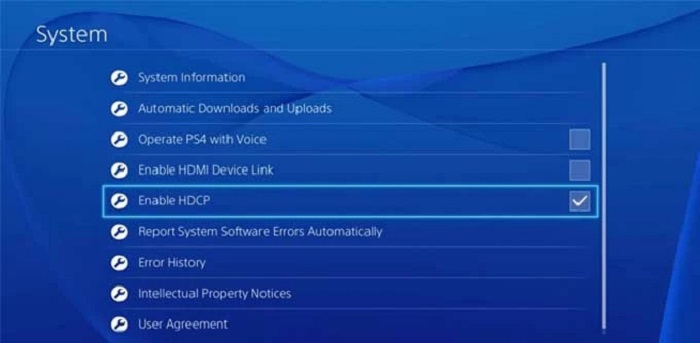
Open the device running PS4 and go to Settings. Access System and then select System Information to check your PS4 Settings.
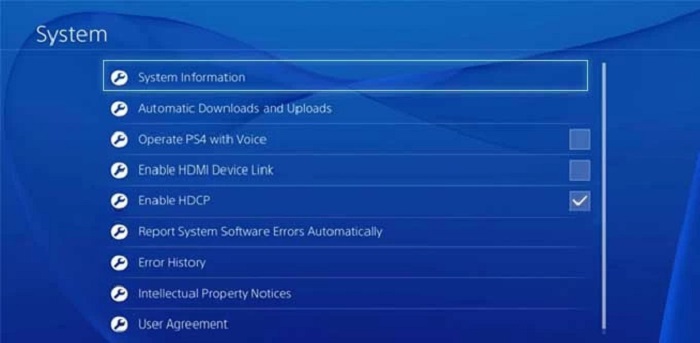
Don't exit Settings right away. If you find the Enable HDCP button is turned on, please click on it and disable it, since this option will disable countless game captures from recording the gameplay.
Step 3: Launch a Screen Recorder on PC
Once all of the above Settings are in place, you can launch the screen recorder on your computer to record the game content captured by the capture card. If you have not yet decided which software to use, we recommend using FonePaw Game Recorder because of its clear interface, simple operation, and powerful features (go back to Part 1 for more information).
Step 4: Record PS4 Gameplay
Now, all you need to do is turn on the record button of the screen recorder to play games on the PS4, because the capture card and the screen recorder will simultaneously record the gameplay to the PC. When the game is over, stop recording on your computer. The PS4 game you recorded should now be found in the folder you set up on your computer.
FAQs About PS4 Gameplay Recording
Q1: How long can you record gameplay on PS4?
As we mentioned previously, PS4's built-in screen recording function has a default recording time of 15 minutes. You can adjust the duration on Settings, to 15 seconds at least and 60 minutes at most. If you want to get rid of the time restrictions to freely record the whole gameplay on PS4, try FonePaw Game Recorder as an alternate.
Q2: How to Record PS4 Gameplay on PC for YouTube?
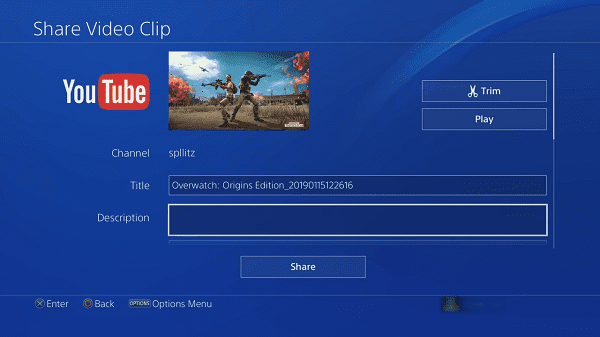
If you are using the PS4's built-in screen recording function, you can directly operate and share it to YouTube after you finish recording. Select a social network from the Share Video Clip menu and sign into your account. Then, you can fill in the blanks of the video name, instructions, etc. then click Share to upload it to your social media platform.
In terms of recording PS4 gameplay with FonePaw Game Recorder, you can enter the History tag and find your recorded videos, click the Share button on the right of each one, and pick different platforms to share.

Conclusion
We believe that the 3 methods introduced in this post have been able to satisfy your needs. If you don't want to spend the extra money and want to start recording PS4 gameplay quickly with ease, then FonePaw Game Recorder is definitely the best choice for you. Click the button below to download the software and try it out!
