


Windows 10 is a pretty powerful operating system, but one of its annoying features is that its updates are often followed by restarts automatically.
Although those restarts are set to ensure the latest improvements and security patches for your computer, they may interrupt your work and lead to data loss, especially when you’re editing something or rendering overnight. Before that happens, you can try the following methods to prevent restarts.
# 1. Rename reboot files
Renaming reboot files can help you stop Windows 10 from automatically re-enabling the Reboot task.
Step 1: Press Win + R to open the Run command.
Step 2: Copy and paste the following path, then click OK.
%windir%\System32\Tasks\Microsoft\Windows\UpdateOrchestrator
Step 3: Find the file named Reboot (no extension), right-click on it, and select Rename.
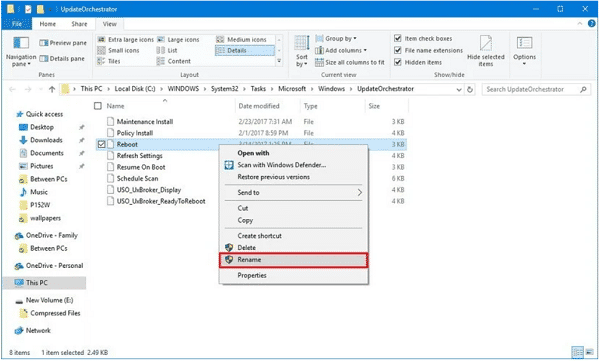
Step 4: Rename the Reboot file to Reboot.old.
Step 5: Create a new folder and name it "Reboot" to prevent a task with the same name from being created again.
# 2. Enable No auto-restart with automatic installations of a scheduled update
This method is not supported by Microsoft but useful, which means you should use it at your own risk.
Step 1: Click on the Windows icon.
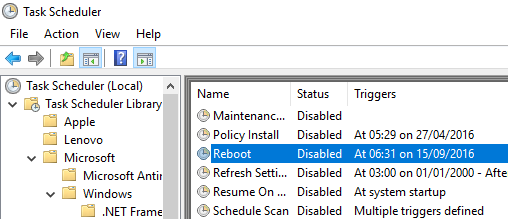
Step 2: Type Task Scheduler in the search bar and click the result.
Step 3: Right-click the Reboot task and select Disable.
# 3. Set Active Hours to Stop Windows Update in Working Hour
Change active hours will not prevent the device from restarting but arrange the restart at the right time, which secures both your device and the tasks you are working on.
Step 1: Go to Start > Settings > Update & Security > Windows Updates, then select Change active hours.
Step 2: Next to your current active hours, select Change.
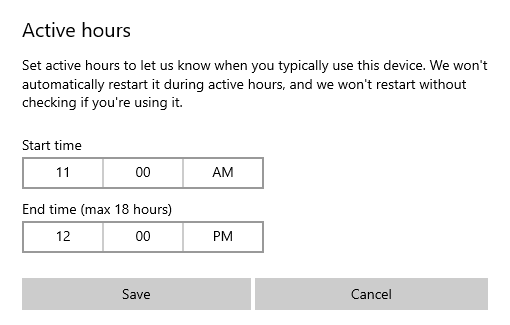
Step 3: Choose the start time and end time for active hours. What if you've lost your data in a sudden restart? That will be awful!
Can the data be retrieved? Of course! FonePaw Data Recovery (opens new window) will save you from the disaster. It supports recovery on many brands of computers including Toshiba, Lenovo, LG, Acer, ASUS, and so on. Follow the steps below and get your data back.
Step 1: Download FonePaw Data Recovery (opens new window)from the following link and install it on your computer.
Free Download Buy with 20% off Free Download Buy with 20% off
Step 2: Launch FonePaw Data Recovery and select data type to scan.
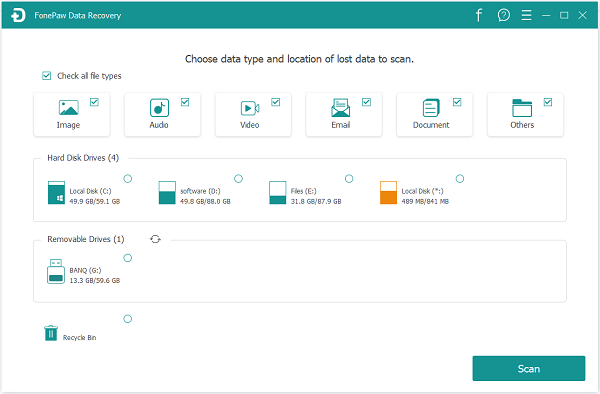
Step 3: Select the scan mode, "Quick scan" or "Deep scan". Either mode will finish in a short time. To be noted, "Deep Scan" will take more time to scan since it will find more items.
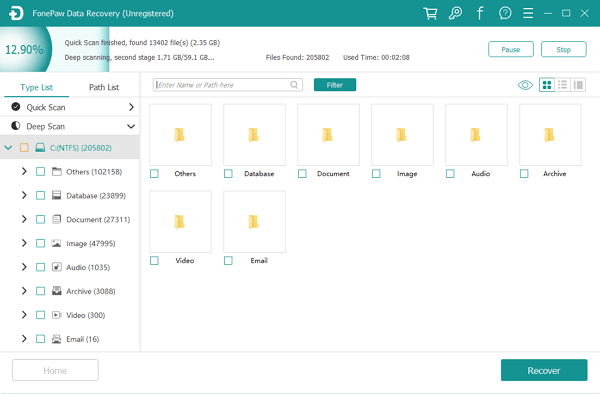
Step 4: Check the scanned results by Type List and Path List.
Step 5: Tick what you like to recover among the listed scanned items.
For example, hit "Images" to restore the lost pictures on your disk (opens new window).
Step 6: Click on the Recovery button. The recovery will start immediately. Then the result will appear on a pop-up window after a while.
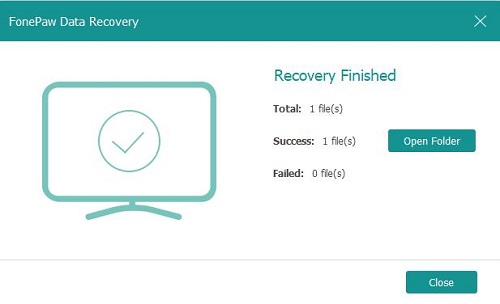
Then you can click Open Folder to view your data.
All done!