


If you're looking to enjoy your favorite movies on the go, your iPad is a fantastic option. Almost one in every hand, iPad is a great tool for a range of activities, from studying to playing games to binge-watching your favorite TV shows. With its larger screen and impressive battery life, the iPad offers a superior viewing experience compared to smartphones, and is more portable than a laptop, making it an ideal choice for entertainment on the go.
In this guide, we'll explore 5 different ways to put movies on your iPad for offline playback. Each method is tailored to suit different needs and preferences, ensuring that you can load up your device with all your favorite content with ease.
 Tips:
Tips:
If you're looking to watch streaming videos offline, such as movies from Netflix, Amazon Prime, or Disney+, consider using MovPilot All-in-One Video Downloader. This tool lets you download content directly to your iPad, enabling you to watch your favorite shows and movies without needing the respective apps.

Method 1. Sync Movies to iPad Using iTunes
iTunes has long been the standard software for managing and syncing media between computers and Apple devices. Compatible with both Windows and macOS (though macOS Catalina and later use Finder instead), iTunes allows for thorough management of your media files, integrating them into Apple's familiar ecosystem. This method is particularly convenient for those who want to add movies purchased from iTunes or already in the iTunes library to the iPad.
However, before proceeding, be aware that syncing movies through iTunes can overwrite existing files on your iPad, which could result in the loss of unsaved data. Additionally, the iTunes interface can be complex and may not be the most user-friendly option for beginners. These factors make it essential to consider alternative methods without iTunes, which we will discuss later.
Here are the detailed steps on how to put movies on iPad from PC with iTunes:
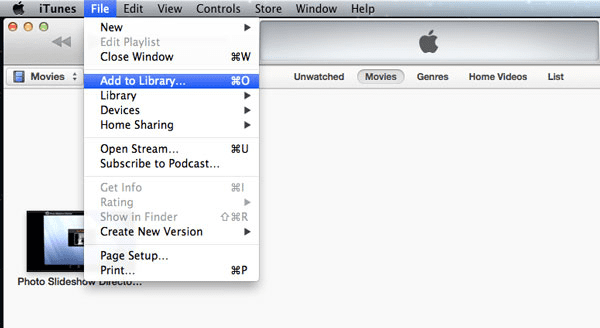
Step 1. Open iTunes on your computer, click the "File" menu, and select "Add to Library" to import your movie files into iTunes.
Step 2. Use a USB cable to connect your iPad to your computer. Wait for iTunes to detect your device.
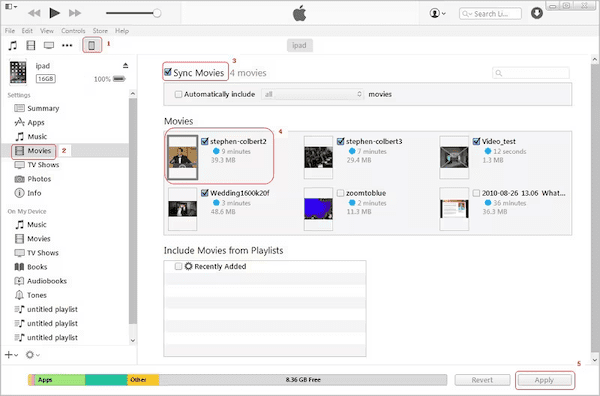
Step 3. Click on the device icon in iTunes to view your iPad’s settings, then click on the "Movies" tab.
Step 4. Check "Sync Movies" and select the movies you want to transfer. You can choose individual movies or sync all movies in your library.
Step 5. Click the "Apply" button at the bottom right of iTunes. The movies will begin transferring to your iPad.
Method 2. Put Movies on iPad Using Data Transfer Tool
If you find iTunes cumbersome because of its obvious drawbacks such as the risk of data overwriting and an unintuitive interface, then using a data transfer tool like FonePaw iOS Transfer is a great alternative. This tool offers a more straightforward process and a user-friendly way to transfer movies to your iPad without the hassle of data loss.
FonePaw iOS Transfer is a comprehensive tool designed to help you manage content across different platforms like iOS, Windows, and macOS. This software offers a seamless experience for transferring, backing up, and managing files without the complexities of iTunes.
It supports a vast array of content types and enables straightforward transfers that maintain your existing data. It also allows you to transfer files from iPad to PC. With its user-friendly interface, it allows you to put movies on your iPad with a single click, making it ideal for both beginners and experienced users.
Free Download Buy with 20% off Free Download Buy with 20% off
- Supports all models of iPad, including iPad/ iPad Air/ iPad Pro, and all versions of iOS.
- Efficiently transfer multiple types, including music, videos, photos, contacts, SMS, and more.
- Allows batch transfer of multiple files at once without file size or quantity limits.
- Offers a user-friendly interface that simplifies the management of files.
- Preserves existing data by preventing overwrites during the transfer process.
- Simplifies syncing iTunes library data to your device or computer.
Using FonePaw iOS Transfer provides a more streamlined and efficient way to put movies on your iPad Pro. Here is how:
Step 1. Download the FonePaw iOS Transfer on your computer and follow the installation instructions to install it.
Free Download Buy with 20% off Free Download Buy with 20% off
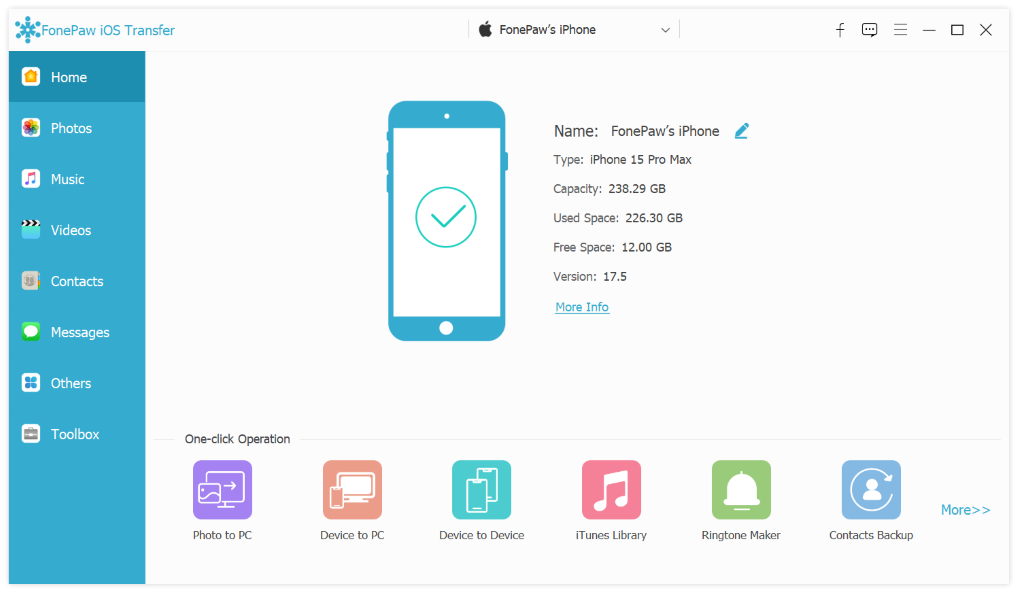
Step 2. Use a USB cable to connect your iPad to your computer. Launch FonePaw iOS Transfer once your device is connected.
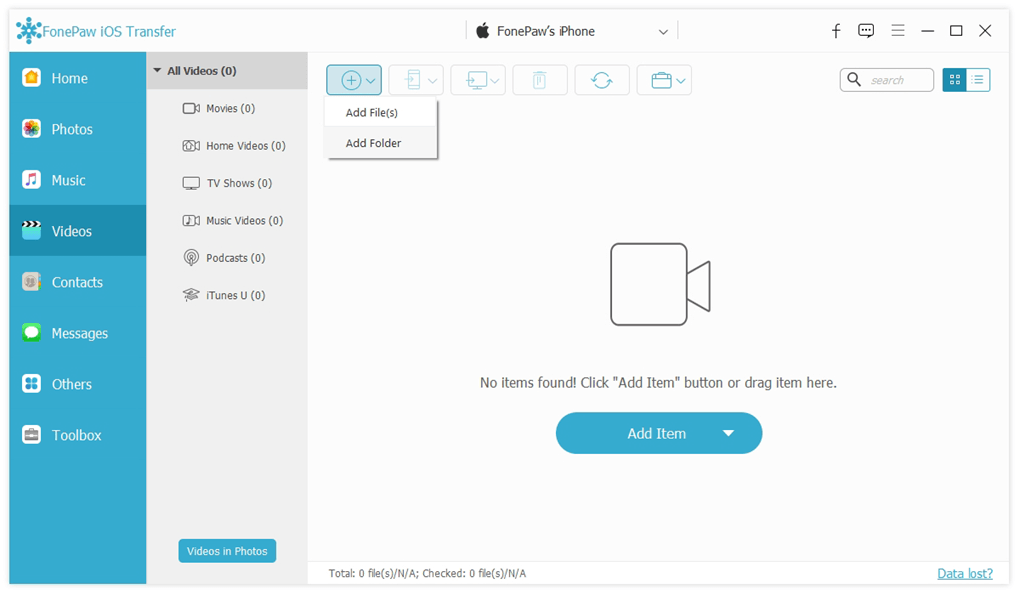
Step 3. Click on the "Videos" tab on the left sidebar, and then select "Movies". Click the "Add" button at the top, and browse your computer to select the movies you want to transfer. You can choose multiple files at once for batch transfer.
tep 4. After selecting your movies, confirm to start the transfer. Once completed, you can check your iPad to ensure that the movies are correctly transferred and accessible.
Method 3. Transfer Movies to iPad Using VLC
Transferring movies to your iPad using VLC is an excellent alternative to iTunes, especially if you prefer a wireless method. VLC Media Player, known for its broad compatibility with numerous media formats, also provides a user-friendly way to transfer movies to your iPad.
Its built-in WiFi upload feature allows you to transfer movies wirelessly, making it convenient to add movies to your iPad without the need for cables. This method bypasses the need for intricate configurations and sync processes, making it an appealing choice for users at any technical skill level.
Before proceeding, ensure both your computer and iPad are connected to a stable WiFi network. Below are the steps on how to put movies on iPad Air with VLC:
Step 1. Download and install the VLC app from the App Store on your iPad.
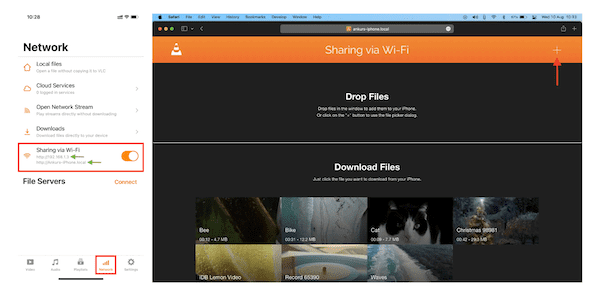
Step 2. Launch the VLC app, go to the "Network" tab, and turn on the "Sharing via WiFi" option. This will display an IP address or a local network URL on your iPad screen.
Step 3. Open a web browser on your computer and type in the provided IP address or URL. This will access the VLC web interface.
Step 4. Drag and drop your movie files into the upload area of the browser interface.
Step 5. Once the movies are uploaded, you can access your movies directly within the VLC app under the "All Files" section and play them without any further setup.
Method 4. Add Movies to iPad Using Cloud Services
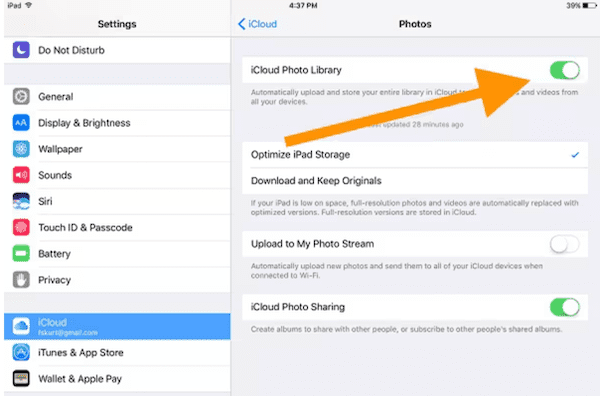
Cloud services offer a highly convenient and versatile method to add movies to your iPad, allowing for easy access from anywhere and anytime. This method is particularly suitable for those who prefer not to manage physical cables or direct transfers and is ideal for maintaining a backup of your media online. Popular cloud services like iCloud provide seamless integration with iOS, ensuring a smooth experience for iPad users.
However, it's worth noting that the free storage capacity provided by services like iCloud is limited to just 5GB, which can be quickly exhausted by large movie files and requires additional purchases for more space. Moreover, both uploading and downloading these files can be slow, making the process time-consuming.
Now we will show you how to put movies on iPad with iCloud:
Step 1. Ensure your iCloud account is set up and that you have sufficient storage available. If needed, purchase additional storage by going to Settings > [your name] > iCloud > Manage Storage > Change Storage Plan.
Step 2. On your computer, open the iCloud Drive folder. You can access this through the iCloud website (iCloud.com) or Finder on macOS. Drag and drop your movie files into the iCloud Drive folder.
Step 3. Open the Files app on your iPad, go to iCloud Drive, and locate the movie files you uploaded.
Step 4. Tap on a file to download it to your device if it's not already downloaded automatically.
Step 5. Once downloaded, tap on the movie file in the Files app for playback offline.
Method 5. Put Movies on iPad Using Finder
For users with macOS Catalina or later, Finder has replaced iTunes as the tool for managing your iPad and other Apple devices directly from your Mac. Using Finder to add movies to your iPad is a straightforward process that mimics the classic iTunes approach but with a more integrated and streamlined macOS experience. This method allows direct file transfers without additional applications or internet connectivity, making it one of the best choices for Mac users.
Follow the steps below to put movies from Mac to iPad Pro using Finder:
Step 1. Use a USB cable to connect your iPad to your Mac. Open a Finder window if it doesn't open automatically.
Step 2. Your iPad should appear in the Finder sidebar under "Locations". Click on it to open the iPad management interface.
Step 3. Select the "Movies" tab in the button bar to manage your video content, and check the box next to "Sync Movies" to enable syncing of movies.
Step 4. After selecting the movies you want to sync, click the "Apply" button located at the bottom right of the Finder window to start the sync process.
Conclusion
In conclusion, this guide has explored 5 methods to transfer movies to an iPad, each with unique advantages and challenges. iTunes and Finder offer robust integration within the Apple ecosystem but can be complex and risk overwriting existing data. VLC provides a flexible and cost-free option though it relies on a stable Wi-Fi connection and does not integrate with the native Videos app. Cloud services offer universal access to files but are limited by storage capacity and can be slow for large files.
Among these, FonePaw iOS Transfer stands out for its user-friendly interface, versatility, and the ability to avoid data overwrite, making it the recommended choice for efficiently transferring movies to your iPad.
Free Download Buy with 20% off Free Download Buy with 20% off