


Shooting video is just the first step to create a great video. After you have taken a video, editing the footage in after effects is an inevitability. When you get grainy or shaky footage, removing grain and shakiness is necessary to get a neat, clear, and stable video.
This post gives you a step-by-step guide on how to fix grainy or shaky videos in a simple way. You don't need to be a techie or learn about the confusing after-effects tutorials. Just install a video editor on your computer and copy the grainy or shaky video from your iOS/Android phone, camcorder, digital camera, or other devices to the computer, you can then use the editor to denoise and stabilize your video by clicking a few buttons.
The video editor we are using here is Video Converter Ultimate. This program is designed to help people to create pro-level videos without professional training. With its noise reduction and video stabilization effects, you can easily remove grain from a video or remove shaking from a video.
Download FonePaw Video Converter Ultimate to get started.
Free Download Buy with 20% off Free Download Buy with 20% off
Part 1: How to Remove Grain from Videos
There are several reasons that could lead to a noisy video. And high ISO and recording in a compressed format are the two most common ones. You can apply the noise reduction after effect in PawEditor to denoise the video.
Step 1. Import Grainy Video into the Video Converter
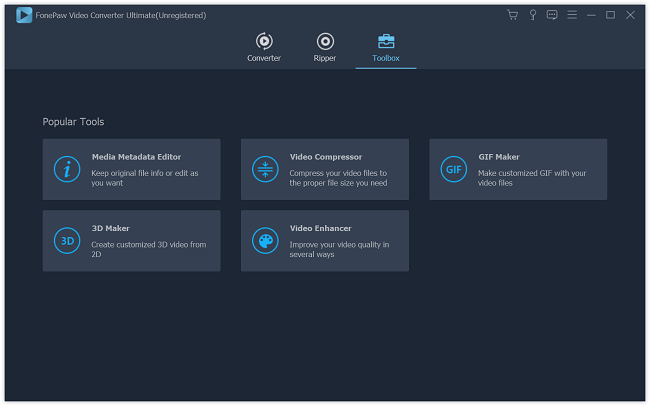
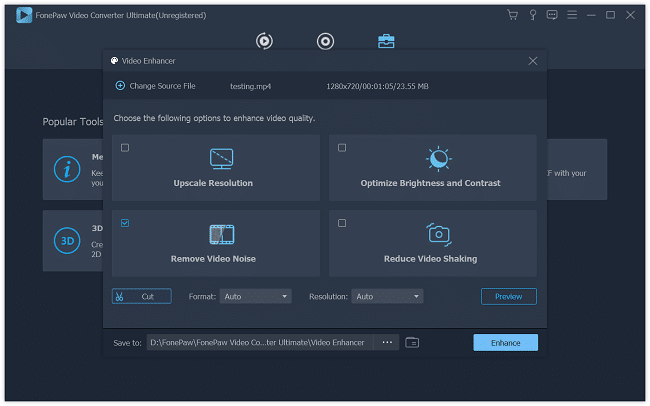
Open FonePaw Video Converter Ultimate. Navigate to the Toolbox tab. Click Video Enhancer from the 5 popular tools and add the video that needs to be enhanced.
Step 2. Remove Grain From Video
Check the Remove Video Noise box. You can choose the output format and resolution here. Before exporting, you can preview the video and choose a save location.
Step 3 Export the Denoised Video
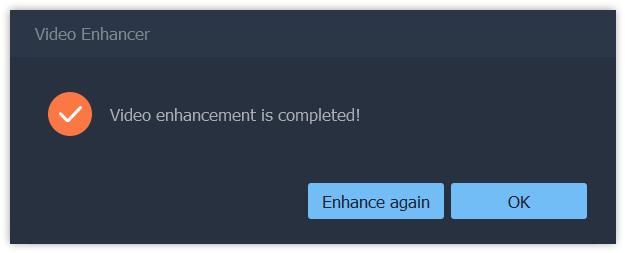
When you think everything is done, click the Enhance button. You can export the denoised video to your computer and enjoy it without grain.
Besides removing grain from videos, you may need to further edit the video, for example, reducing shake from the video, go on reading Part 2.
Part 2: Video Stabilization: Remove Shake from Video
Hand-holding a camera to take a video often makes some video clips look wobbly. And the shaky videos look unprofessional and are difficult to watch. If you have a shaky video taken by yourself or downloaded or received from other sources, you may add these videos into FonePaw Video Converter Ultimate which can work for video stabilization and fix shaky video with one button.
Step 1 Add a shaky video into Video Converter Ultimate.
Step 2 Check the Reduce Video Shaking box. Just like removing video noise, you can change the format, resolution, save path and preview the video in advance.

Step 3 When the video isn't shaky, you can export your work to enjoy. The steps are the same as Part 1.
Other Video Editing Features You May Be Interested in
There are other features of FonePaw Video Converter that you may be interested in:
Adjust video effects, like brightness, contrast, hue, add watermark and personalize the videos as you like.
Trim, clip, or merge video and audio clip.
Enhance video quality in one click, upscale resolution, optimize the brightness and contrast, and more.
Flip and rotate the videos (opens new window) that are taken in the wrong orientation.