


When you were a student, have you ever thought about not to go to school, but have classes on the Internet? Now you could do that with iTunes U. You just need to stay at home and pick up your iPhone or iPad, and you can learn a number of great lessons from the world famous universities such as Stanford, University of Melbourne, Texas A&M, MIT, UC Berkeley, Yale and more. But sometimes you may want to transfer iTunes U to your PC for sync and don't want to lose any data. So what can you do?
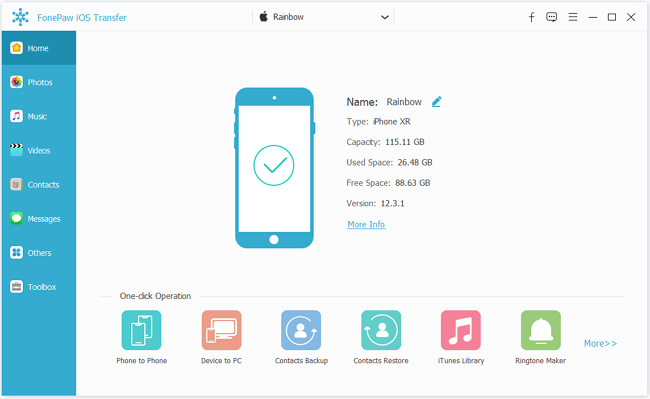
People become more and more busy nowadays! Of cause you can transfer iTunes U from iPhone or iPad to your computer by your own way. But it could be time-consuming. So I want to show you a simple way to achieve the transferring with the help of FonePaw iOS Transfer (opens new window).
You can click the following button to download the software.
Free Download Buy with 20% off Free Download Buy with 20% off
# Three Steps to Transfer iTunes U from iPhone/iPad to Computer
Step 1. Run the Program and Connect iPhone to PC
First, please download FonePaw iOS Transfer, you can click the download button above and install it. Then run the program, and you will get the tips of connecting your iPhone to PC via USB cable. Then go for your device, and tap "Trust" on the pop-up window.
Note: Please make sure your USB cable is matched to your iPhone, or your PC couldn't detect device.
Step 2. Choose the Courses You need to Transfer
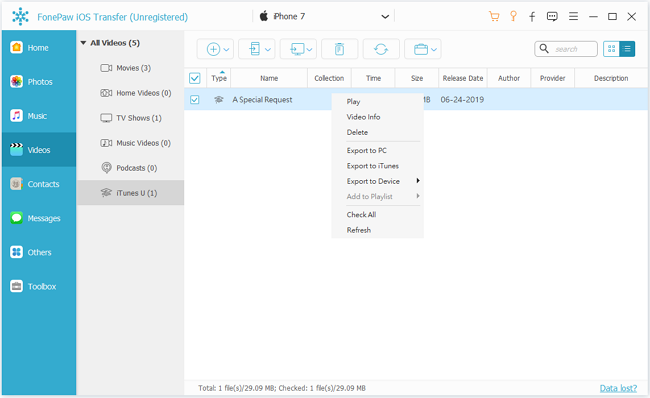
After connecting, you can see the information and files of your device are shown on the page. Please click "Media" at the left pane, then choose "iTunes U" from the option on the top. The courses on your device will be displayed, and you can choose the ones you want to transfer to your PC.
Note:
1.If you want to choose the courses, you can click the check box for each course; if you want to choose all the courses, you can click the check box in the heading.
2.You can check the details of each course, including type, name, collection, time, size, release date, author, provider, description.
3.Here is a hint next to the "Description" item in the heading. If the item has been in your iTunes library, the circle will be in blue. Otherwise, it will be in gray.
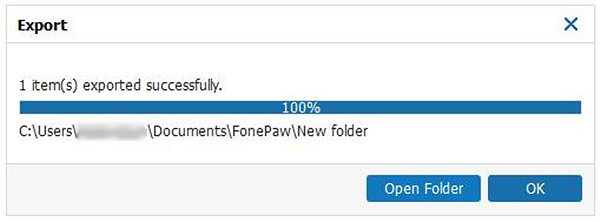
Step 3. Export to PC
After you select the courses, click "Export to > Export to PC". You can choose the folder on your computer to store the exported items. Now you can study on your computer!
FonePaw iOS Transfer can transfer files from iDevice to PC (opens new window); copy files from PC to iDevice and can share the files between two iDevice. What's more, it can fit all models of iPhone and iPad. If you want to have a try, please click the following button to download the great program!
Free Download Buy with 20% off Free Download Buy with 20% off