


iMessage allows users to send and receive messages over Wi-Fi among different iOS devices and Mac computer. In general, if you log in the same Apple ID on iPhone and Mac, the iMessages will sync between them. But many users find that after updating iOS to the latest version, especially iOS 11 and above, the iMessage on Mac is not syncing. If you also meet the same situation and wonder how to refresh iMessage on Mac, read on to learn the quick solutions we offer for you.
1. Fix iMessage Not Syncing on Mac from iPhone
When iMessage is not syncing between iPhone and Mac, you should check your iMessage settings both on Mac and iPhone. Let's get started with iPhone first.
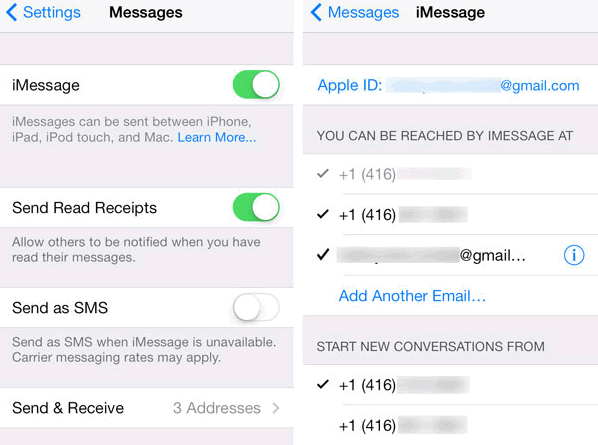
On Mac, iMessages are sent and received based on your Apple ID (the iCloud email address). To let iMessage updating on Mac, first you can need to make sure that iMessage can be sent and received by both your phone number and Apple ID on iPhone. The iMessage not syncing on Mac happens when you set the iMessage to send based on the phone number but not the Apple ID on iPhone.
- Open Settings. Scroll down and tap on Messages.
- Choose Send & Receive.
- In the "YOU CAN BE REACHED BY IMESSAGE AT" section, check the phone number or email address you use to send and receive iMessages.
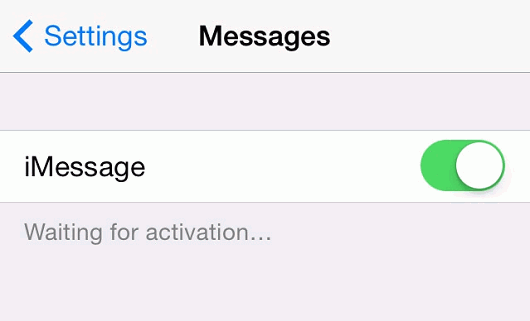
Another way to try is to turn off iMessage and turn it back on later on iPhone. This will refresh iMessage on iPhone and Mac.
- Go to Settings > Messages.
- Toggle off iMessage on the top. After several seconds, toggle it on.
Send an iMessage to your friend and check if the message threads show up on Mac now or not.
2. Fix iMessage Not Syncing on Mac from Mac
If iMessage on the Mac is still not updating after the adjustments on iPhone, you may check the settings on Mac.
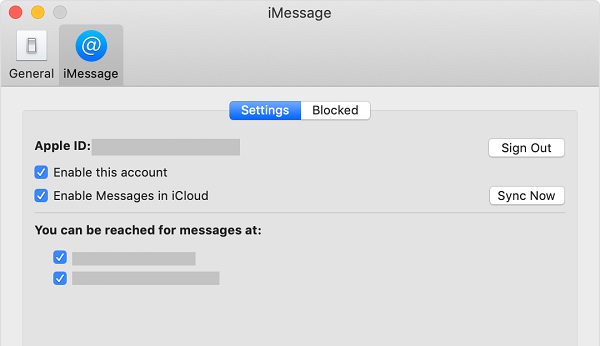
To make sure iMessage showing up on Mac, you should re-enable your Apple ID account on Mac.
- Open iMessage > Preferences.
- Head to the Accounts section.
- Make sure the Apple ID you sign in on the Mac is the same as the one on iPhone.
- Check "Enable this account" and check the email address of your Apple ID.
Similarly, you can also toggle off iMessage and turn it on again on Mac to update iMessage on Mac.
- Open iMessage > Preferences.
- Uncheck "Enable this account" or click on "Sign Out".
- Wait for a while and then enable it again or sign in the Apple ID again.
Now, try to send an iMessage on iPhone and check whether it syncs on Mac.
3. Confirm Phone Number with Apple ID
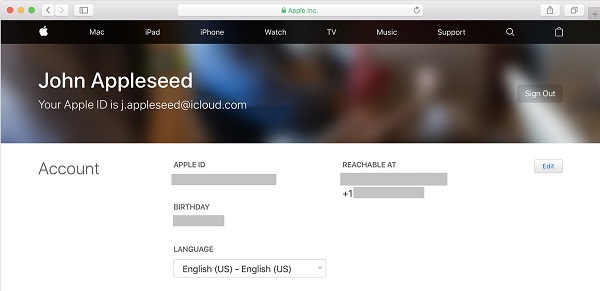
By confirming your phone number with Apple ID, the phone number is linked with the Apple ID. Some said that it fixed the iMessage not syncing problem on their Macs.
- Go to https://appleid.apple.com and sign with your Apple ID.
- Navigate to Account and check if the phone number you are using is listed under "Reachable at".
4. Transfer Messages from iPhone to Mac with FonePaw iOS Transfer
Besides syncing iMessage between iPhone and Mac, you can also transfer messages from iPhone to Mac FonePaw iOS Transfer (opens new window), which can transfer messages from iPhone to Mac.
It is a powerful iOS data management tool with which you can easily transfer any file from iOS devices to PC or Mac, such as pictures, videos, contacts and text messages. Follow the 3 simple steps below to get your iMessages to Mac.
Free Download Buy with 20% off
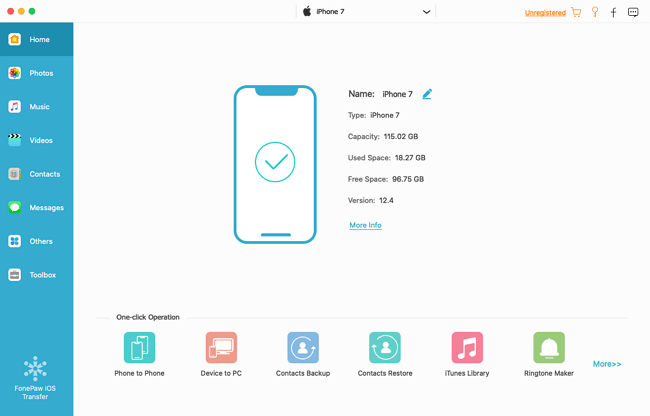
Step 1: Launch Transfer Tool and Connect the iPhone
Download the Mac version for FonePaw iOS Transfer. After installation, launch the software. Connect the iPhone to your Mac with a USB cable. If connected successfully, you can see your iPhone displayed on the interface of FonePaw.
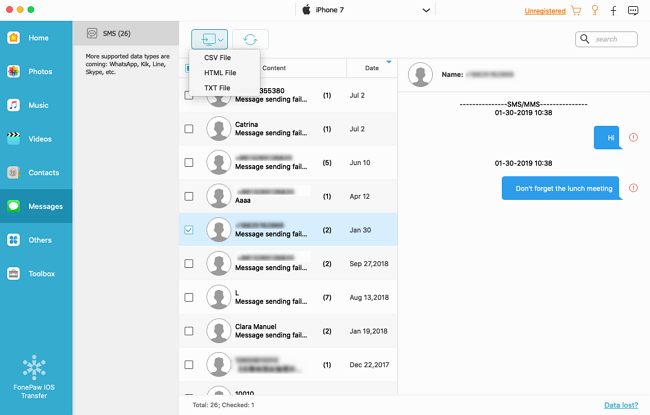
Step 2: Choose the Messages for Transferring
Click on "Messages" on the left sidebar. Then you are able to preview all the iMessages stored on your iPhone. Check the messages you want to transfer.
TIP: If there are too many messages to view, you can type in the contact name or other keywords in the search box at the upper right corner for a quick search.
Step 3: Export the iMessages to Mac
After choosing all the messages you confirm to transfer, click on the "Export to PC" button, the first icon in the upper-left.
You can choose the output format in the pull-down list: CSV, HTML, or TXT file. Remind you that if you choose the CSV or TXT format, the images inside the iMessages will be put in the attachment folder.
That's it! Now you've easily transfer the SMSs on your iPhone to the Mac.
Hope this guide is useful for you to fix the issue of iMessage not syncing on Mac. If you still have trouble on transferring messages from iPhone to Mac, please leave your comment to let us know! Welcome to share these solutions to more people.