


I believe that you've heard the word "root" a lot from the geek guys. But do you know what exactly "root" is? Here we will give you a comprehensive introduction on what is "root", what to do before rooting and how to root Android devices with Kingo Root. Now let's know more details about "Root Android".
Note:
Verizon, AT&T and even other carriers have locked the Bootloader in Android, leading to difficulties in rooting Android and possibilities of bricking the device. So the solution we offer below may not works on Android manufactured by Verizon or AT&T and it is better not root your phone with this method.
Part 1: What is "root"
In brief, "root Android" means getting the highest authority on Android and has access to better use your Android phone by optimizing your phone, and its data, etc. If your device is not rooted, some data saved in deeper level cannot be accessed and even some apps cannot be installed.
Part 2: Precautions before rooting Android
Before you root your Android, you'd better do the things below in advance:
Back up your Android, in case you fail rooting your Android and need to recover your lost data, you need to have an backup file with you.
Make sure that your Android has at least 50% of battery remained. If unfortunately, your Android runs out of battery, the device is likely to turn brick.
Find a third-party root tool which provides less and easy steps with higher success rate freely, for example, KingRoot.
Part 3: Get Your Android Rooted via KingRoot on PC
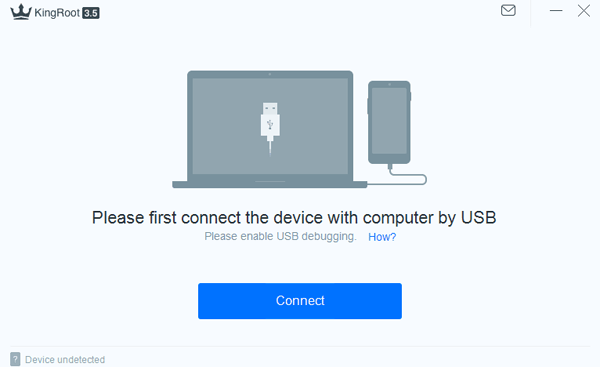
Step 1. Launch the program - KingRoot after installing it.
Step 2. Connect your Android smartphone to PC via USB cable. When it asks you to set up debugging mode, please follow the guide. Otherwise, the connecting would fail.
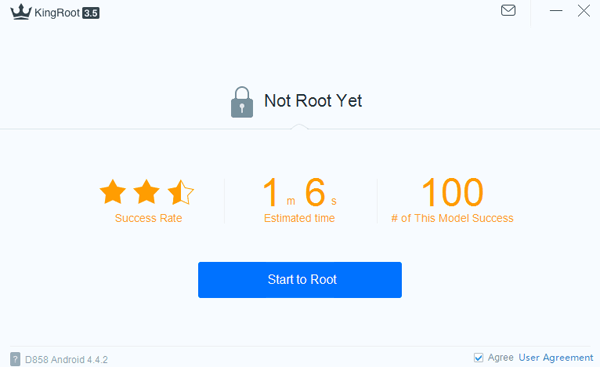
Step 3. As it is successful to get connected, the program will detect your phone to check whether it is supported.
Step 4. If your phone/tablet has not been rooted yet, just click “Start to Root” and the process will get started.
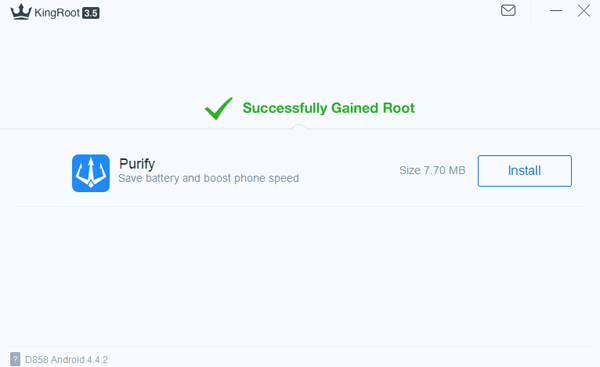
Step 5. In this process, your mobile will restart itself, which is normal. As there is a signal called “Successfully Gained Root” on the screen, your device is rooted.
Part 4: Steps to Root Android Device with KingRoot App
Note: You are not allowed to root your Android phone with Mac. For example, when you are intended to root your Android phone and then use our software - FonePaw Android Data Recovery for Mac (opens new window), you can directly root on the Android phone with the below method.
Video Tutorial: How to Recover Deleted Files from Android Phone?
Step 1. Run KingRoot on Android
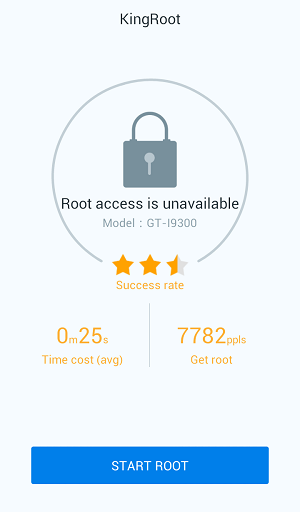
Install KingRoot on your Android phone. Tap the icon of KingRoot. This will start the app. And you will have the interface as below. If your phone is unrooted, you can see the prompt saying that "Root access is unavailable". Then click the button "START ROOT".
Step 2. Root Android with KingRoot
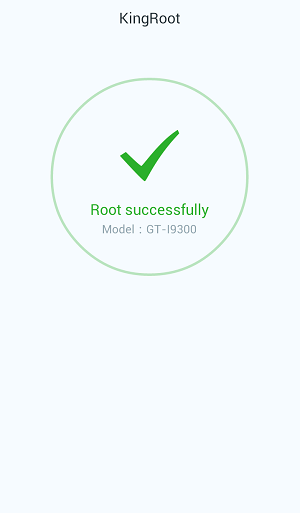
When rooting, you can view the progress. When it is done, you will see the big green tick icon. After that, you can remove apps, purify system, etc. with this app.
As an open operating system, Android triggers a wide range of Android mobile brands and Android OS versions, we still have not found out a program which is 100% compatible for every Android phone or leads to absolutely successful rooting, particularly for Android 4.4 and the later. If both two programs fail to root your mobile, we suggest you turn to other solutions, please refer to: https://forum.xda-developers.com/.