Screenshot is quick and easy for catching information. No need to worry about the data's format and it'll be presented on a photo. Here are four valuable solutions to help you screenshot on the Asus laptop.
Solution 1: FonePaw Snapshot
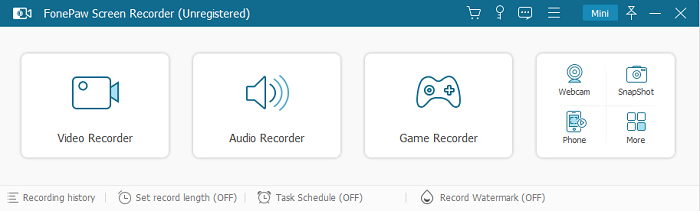
FonePaw Screen Recorder works on both Windows and Mac computers. It offers screen activities and webcam video recording in HD and takes snapshot for the desktop with personalized annotation. What's more, you can add audio to the recording if you like. Let's begin.
Step 1: Download FonePaw Screen Recorder (opens new window).
Step 2: Install and launch it.
Free Download Buy with 20% off Free Download Buy with 20% off
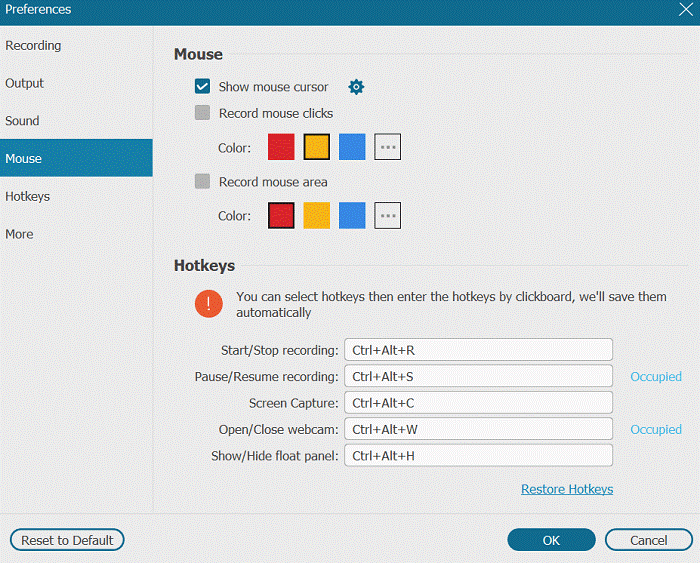
Step 3: Customize your settings.
Click on the three-bar icon on the top bar and select Preference. In the pop-up interface, you can set the interface, mouse track, hotkeys, and output format of snapshot. Click OK to save the settings.
Step 4: Go capturing your Windows screen.
Click on Screen Capture on the homepage.
Select a capturing area with the cursor. Press Esc on your keyboard if you want to discard the current selection. Then you can make the capturing again.

When the screenshot region is finalized, arrow, rectangle, ellipse, line, text, and brush are ready to annotate your screenshot.
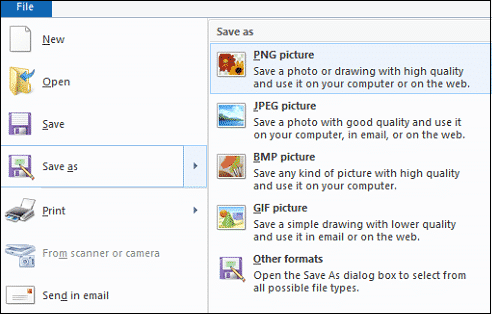
At last, click on the Save button to select the storage location and picture format.
Solution 2: Screenshot on Asus Laptop with PrtSc Key
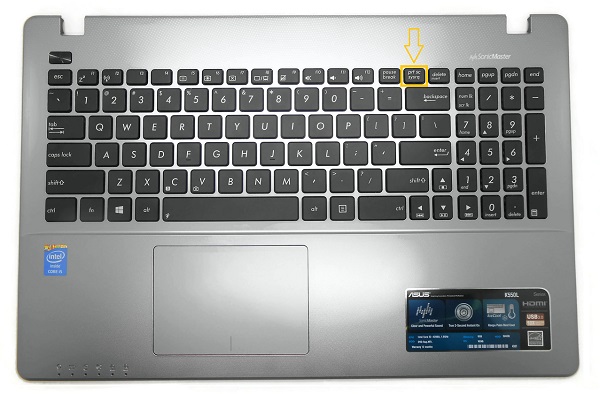
1. Press the PrtSc Key to take a screenshot of the whole screen
Simply, it's a process of screenshot, paste, and save. Here is how to do it:
Step 1: Press PrtSc on your keyboard. Then the current screenshot of the whole screen will be copied to the clipboard.
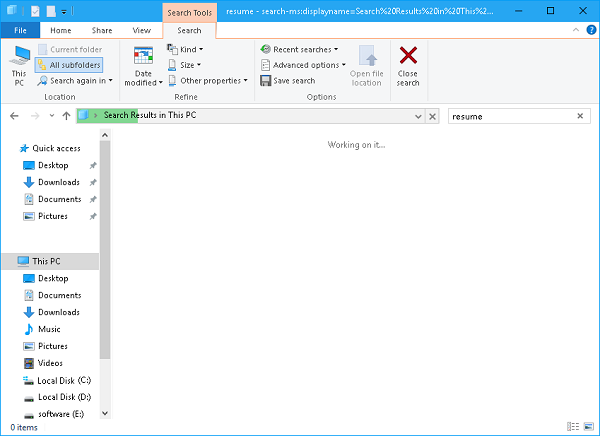
Step 2: Type Paint in the search bar beside the Windows icon and click on the Paint program in the list of search results.
Step 3: Press Ctrl + V on your keyboard to paste the screenshot into the Paint program.
Step 4: Press Ctrl + S on your keyboard to save your screenshot.
2. Windows + PrtSc keys to screenshot the whole screen (Windows 8/10 only)
Windows 8 and Windows 10 make screenshot much easier.
Step 1: On your keyboard, press the Windows key and the PrtSc key at the same time to take a screenshot of the whole screen.
Now the picture will be copied to the clipboard and be automatically saved in the path C:\Users[Your Name]\Picture\Screenshots. If the OneDrive on your computer synchronizes with the Pictures folder, the picture will be automatically saved in the path C:\Users[Your Name][Your OneDrive foldername]\Pictures\Screenshots.
Step 2: Go to the location mentioned above to find your screenshot.
Step 3: If you want to edit the photo, paste it to the Paint program.
3. Take a screenshot of an active window
Step 1: Click anywhere of the window to make it the active window.
Step 2: Press Alt + PrtSc on your keyboard to take a screenshot of it.
Step 3: Search Paint in the Windows Start menu and click on the Paint program to open it.
Step 4: Press Ctrl + V on your keyboard to paste the screenshot into the Paint program.
Step 5: Press Ctrl + S to save the screenshot.
Solution 3: Screenshot on Asus Laptop with Fn Key
The first two solutions work on the Asus laptops with a standard keyboard. If you are using an Asus laptop with an Fn key, the PrtSc key works on not only screenshot. Therefore, Windows doesn't take a screenshot when you press keyboard shortcuts including PrtSc. Try the steps below to use the Fn key to complete the screenshot.
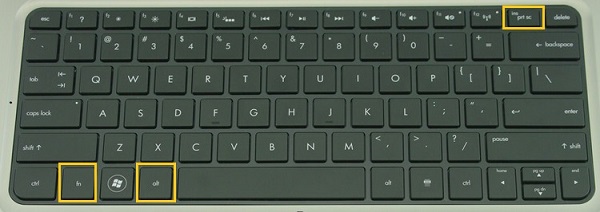
Press Fn + PrtSc to take a screenshot of the whole screen, which is copied to the clipboard. This is the same as pressing the standard PrtSc key.
Press Fn + Windows + PrtSc to take a screenshot of the whole screen and save it as a file on the hard drive. The screenshot will be stored in the Screenshot folder of the Picture library without using any other tool. This is equivalent to pressing Windows + PrtSc on a standard keyboard.
Press Fn + Alt + PrtSc to take a screenshot of the active window. This corresponds to pressing Alt + PrtSc on a standard keyboard.
Solution 4: Screenshot on Asus Laptop on Windows 10
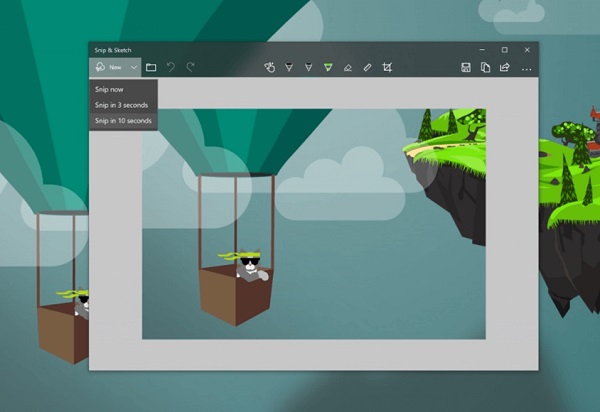
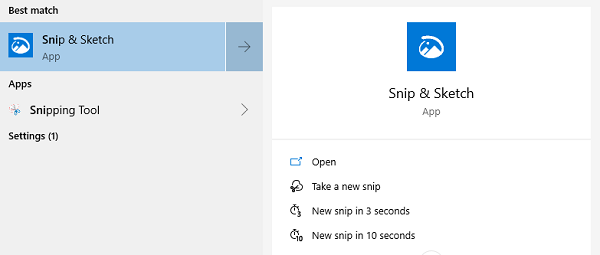
With Windows 10's Snip & Sketch introduced with the October 2018 update, you can create, annotate, save and share screenshots.
Step 1: Search Snip & Sketch in the search field on your taskbar and click on it.
Step 2: Click on the New button on the top-left corner or press Ctrl + N to start the screenshot. Now you can click and drag the mouse to select a screenshot area.