


Skype is one of the most popular and widely used communication tools that are available on multiple platforms, for instance, Windows, Mac, Android, and iPhone. Despite the platform and device that you use, it is convenient to make audio & video calls with Skype.
Sometimes, you may want to record Skype calls to mark down some wonderful moments or important information. Actually, Skype itself has introduced a built-in call recorder since 2018, and here we will show you how to record the calls with this built-in feature. And, if the official feature cannot satisfy your need, how you can record Skype calls with high quality with a third-party recording tool.
How to Record Skype Calls on the App
As we mentioned in the introduction part, there is a built-in recording feature in Skype for you to freely record the audio & video calls on Windows and Mac (and also the portable devices if you use). This feature is totally free and easy to operate. What you need is just a Skype app and relatively stable Internet connection. So, if you need to record the Skype videos, it’s usually the first recommendation.
Here’s the tutorial and the attention points when you want to record the calls in Skype:
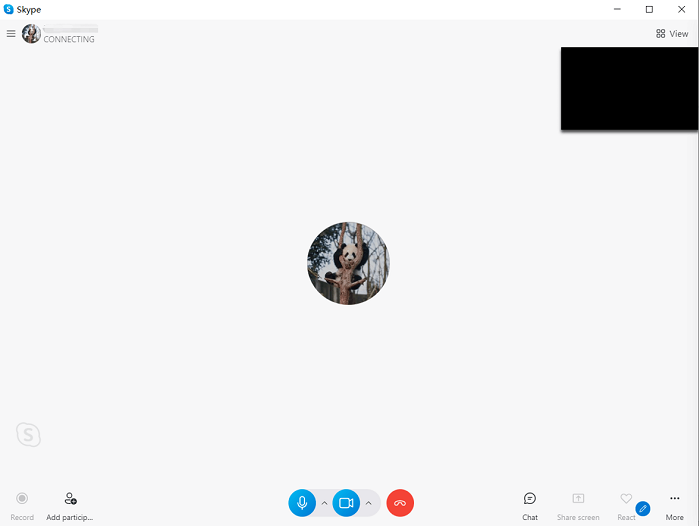
Step 1. Start a Video/Audio Call in Skype
Launch the Skype app and begin or enter a call. You may not find the recording feature until you enter a call.
 Note:
Note:- The Skype calls can contain a bunch of private information, in order to avoid violating the privacy, it’s important to inform every one of the participants that you are going to record the call, and also the use of the recordings.
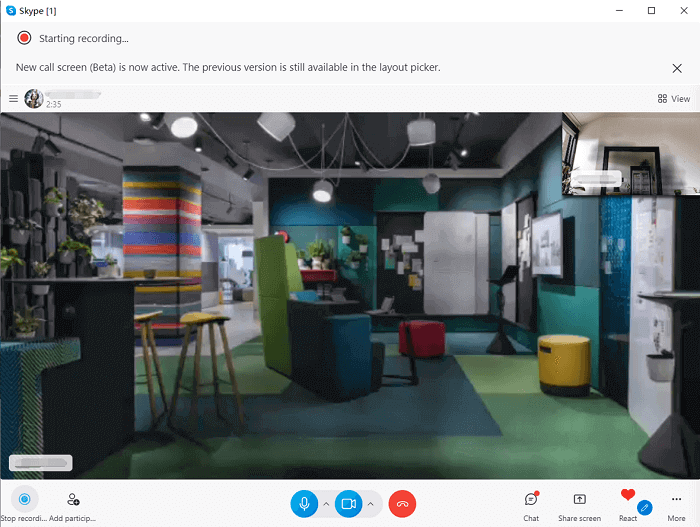
Step 2. Select to Record the Skype Call
When you are having a call with others, you can easily notice a Record button at the bottom left (if not, look at the bottom right, click the three dots icon for more, and you will see the recording feature). Click this button to start a recording.

Step 3. Record and End Recording
You can see the recording process if you are recording a video, and others in the talk will also be noticed what you are doing.
During the recording, you can also chat, react, or share screen with others. Only the webcam activities and voices will be recorded to the video. The chats will not be displayed, but if you share the screen during the recording, the screen will be recorded as well.
If you want to end the recording, just click the same button to choose Stop recording. In other case, if you leave the call, the recording will also be ended automatically.
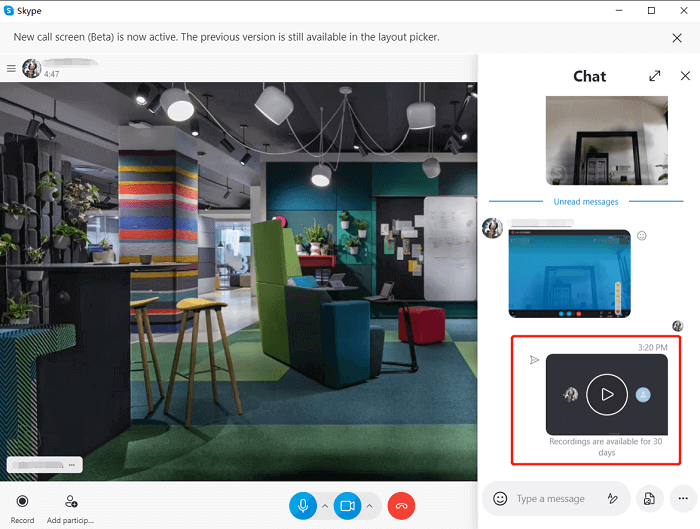
Step 4. View and Save the Recording
When the recording ends, the video will be automatically uploaded to the chat where you record the Skype call. It will remain on the chat for 30 days, and you can simply click to open and view the video.
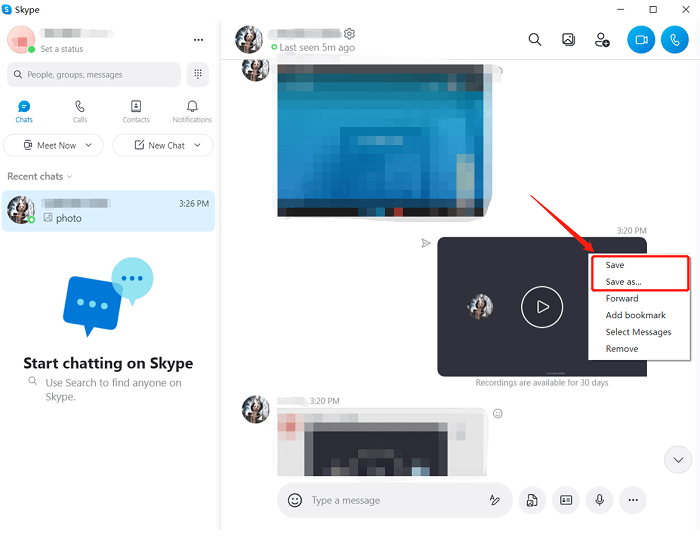
If you are going to save the Skype call locally, you can right-click the video in the chat or tap the three dots button for more settings, and you will be able to see the menu. Then, just choose Save or Save as … to get your Skype video.
Note:- By default, the output video is MP4 format.
That’s how to use the built-in feature to record and save the Skype calls. It’s quite easy and convenient, with only a drawback that the video quality may be compressed and sometimes it relies on the Internet connection to make a smooth call and recording.
If you cannot use this feature or prefer to try an alternative way due to some reason, read on to see how to use another tool to record the Skype calls.
How to Record Skype Calls with Third-Party Tool
Apart from the Skype app itself, there are also many third-party screen recording tools that can easily record Skype calls for you. When you find the official way is unavailable, unstable, or you prefer to adjust more settings of the recording and get a local recording with higher quality, using a powerful recording program is the recommendation for you.
FonePaw Screen Recorder is such a reliable recorder. It’s versatile in features that enables you to record your desktop with full voice and the webcam simultaneously, or the voice or webcam only. Besides, it’s easy for you to adjust the recording settings, use shortcuts, or change the output quality and formats. No Internet connection is needed and also no watermark will be added to your video.
Now let’s see how to record Skype calls on computer with this recording software:
Step 1. Download FonePaw Screen Recorder
This program is free to download. You can get the trial version after it’s installed. It’s compatible with both Windows and Mac.
Free Download Buy with 20% off Free Download Buy with 20% off
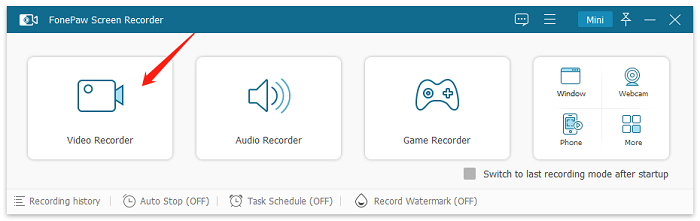
Step 2. Choose Video Recorder
Launch the program and you will enter this interface. To record a video call in Skype, choose the Video Recorder function; if you want to record the voice only, choose Audio Recorder instead.
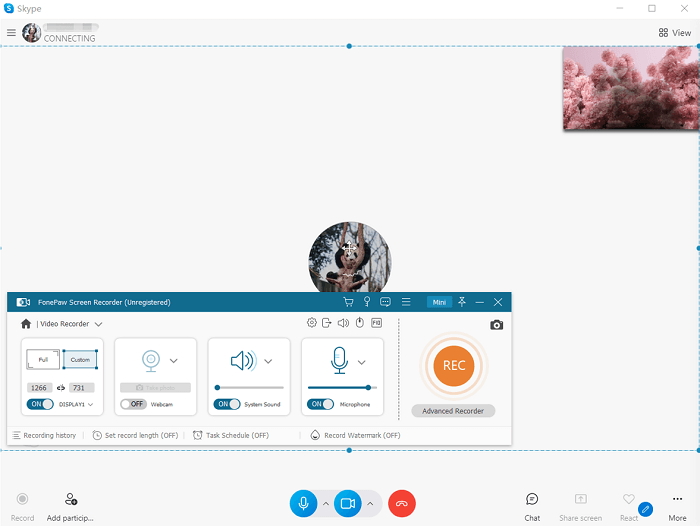
Step 3. Customize the Recording Settings and Start Recording
Here you will turn to the settings of the video recording. You can customize the recording area, adjust the sound volume (for both system sound and microphone), and turn on/off the webcam. After all the settings done, you can click the REC button at the right side to start recording.
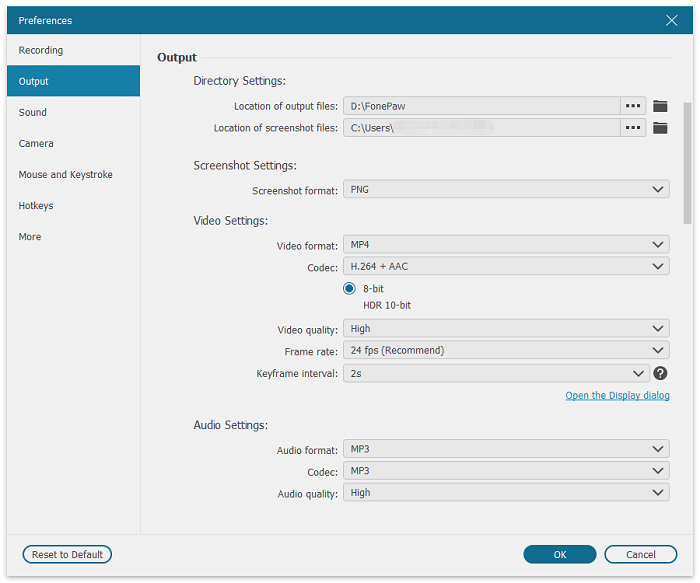
By the way, for more preference settings, you can find them at Settings > Preferences, where you can set up shortcuts, adjust the mouse effects, choose the output format, etc.
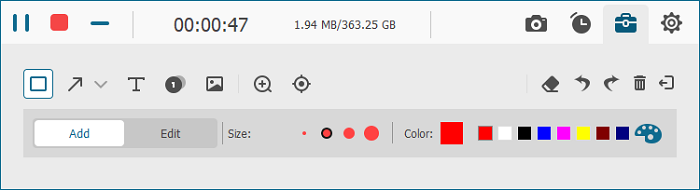
Step 4. Record the Skype Call and End Recording
During the recording, you can check the time at the floating bar, and you are also free to take snapshots and do some editing with the drawing panel.
When you are going to end the recording, click the Square button in blue, and you will be able to preview and clip the video/audio before saving it locally.
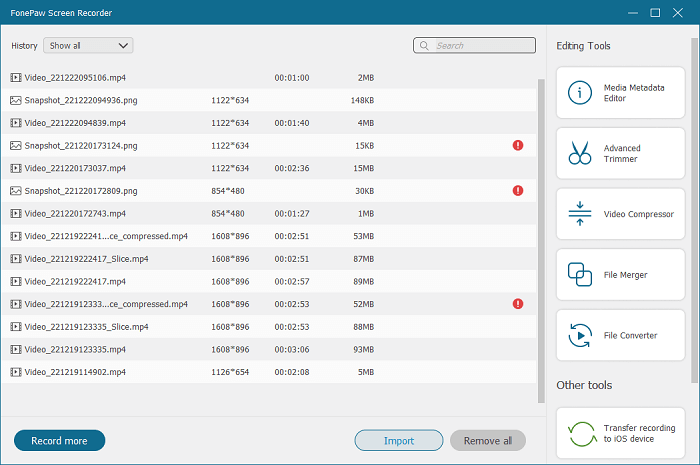
Step 5. Check Recording History
All the calls recorded with FonePaw will be showed in the recording history, so that you can easily identify and share to video to others or social media platforms.
Free Download Buy with 20% off Free Download Buy with 20% off
That’s all about how to record Skype calls with FonePaw. It’s also easy and more adjustable. When it comes to record video tutorials and online meetings, it’s also suitable to use.
Now that you may know about how to record Skype calls on your Windows and Mac. Hope you enjoy your chats and can successfully save the recording locally.