


Online meetings could be an important part of your routine if you work from home. Thankfully, platforms such as GoToMeeting bring clear video and audio to guarantee the quality of your virtual conferences.
When conferencing on GoToMeeting, you can make good use of the recording function if you have something important that needs to be captured and saved. You can also turn to third-party recording programs to get the job done. So, in this post, we specify two methods of how to record GoToMeeting on your Windows/Mac. Whether you're the attendee or the organizer of any online meeting, you will have a better understanding of how to record GoToMeeting after reading this post.
Method 1: How to Record GoToMeeting as Attendee on Windows/Mac via FonePaw Screen Recorder (Recommended)
As attendees of GoToMeeting conferences, most of us are distressed not by the trouble of finding the recording button, but by the limit of access to the recording. On GoToMeeting and most virtual conferencing platforms, organizers or co-organizers are the only ones who are authorized to record meetings.
If you're an attendee who wants the recorded session, you would have to ask the organizers for the recordings after the meeting. And if the organizers didn't record, which is not unusual, you would never get the video you need. Thankfully, reliable recording tools such as FonePaw Screen Recorder are here to solve the problem.
FonePaw Screen Recorder is an all-in-one recording tool that will record anything you like on your Window/Mac desktop screen with audio. Even Mac users, who might have trouble recording audio due to the limitations of the Mac operating system, would find this software useful. But FonePaw Screen Recorder is praised not just for its powerful recording function. It's also versatile enough to allow users to customize the recording area, record windows or pages, and schedule recording. With 20+ smart features, you can even edit, compress, merge, and convert watermark-free recordings as you desire. With FonePaw Screen Recorder, you can get the recording and editing done all at once with high quality.
Free Download Buy with 20% off Free Download Buy with 20% off
Key Features of FonePaw Screen Recorder
- Powerful recording function – You can record a GoToMeeting or anything on your Windows/Mac with clear video and audio quality. It supports various versatile recording modes, such as video recorder, audio recorder, game recorder, webcam recorder, window recorder, and phone recorder.
- Video editing features - Built-in editing tools allow you to trim, compress, merge, and even convert recorded videos.
- No watermark - The recorder enables you to get the recording without watermark by defeat.
- Window Recorder - You can choose to record specific windows or pages so distraction or embarrassment can be avoided.
FonePaw Screen Recorder has multiple functions, but it's not a complicated tool to use. The following steps will walk you through its basic functions by recording a GoToMeeting session.
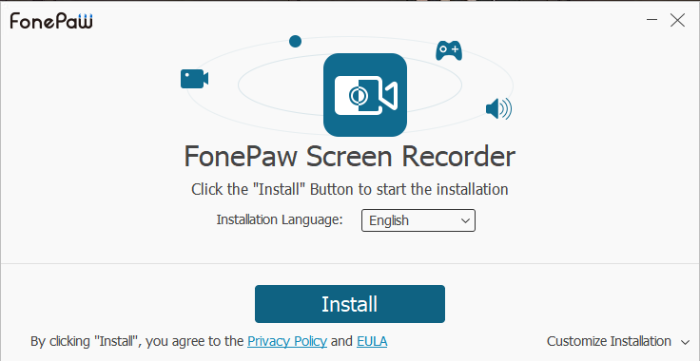
Step 1. Install and launch FonePaw Screen Recorder
Click the button below and download the recorder to your Windows/Mac. Then, choose the language and location of the program when you install it.
Free Download Buy with 20% off Free Download Buy with 20% off
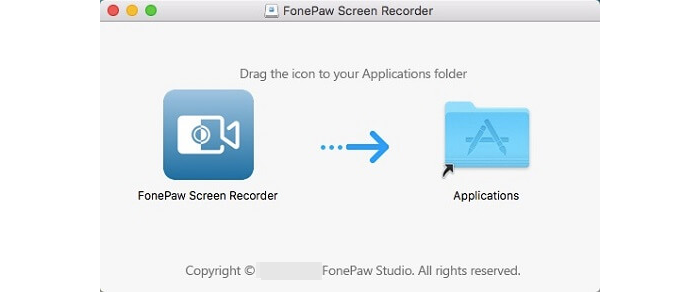
If you get an alert from your Mac, don't panic. The program is safe, you only need to confirm to start the program.
Step 2. Follow or skip the user guide
After you get started, you can follow the user guide and learn the details of every major function. Of course, you can also choose to skip and figure everything out by yourself.
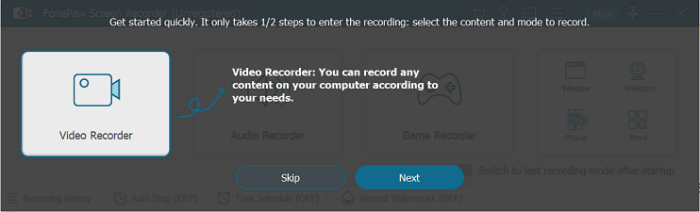
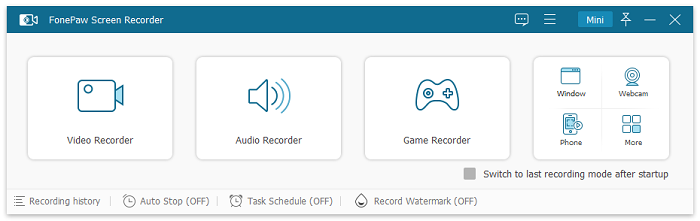
Choose the Video Recorder modes and start to set up the recording.
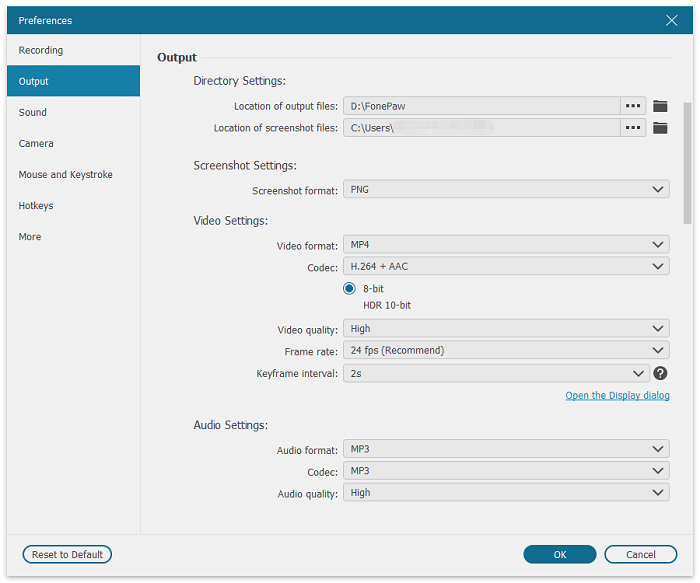
Step 3. Select output format
Click the menu button on the upper right and select Preference.
Here, you can decide the location of the output files and the settings.
Step 4. Start recording
You can choose Full to record the whole screen or Customize the recording area. After setting your webcam, system sound, and microphone, you can select the orange REC button to get the video captured.

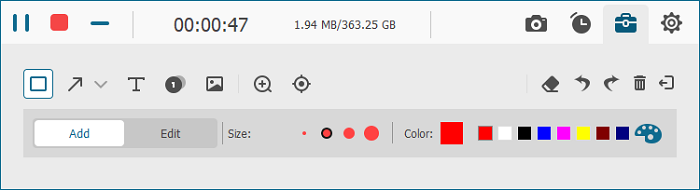
During the recording, you will see a bar under the selected recording area. You can click the camera icon to take a screenshot or choose the gear icon to make a draw. If you click the red square button, you stop recording.
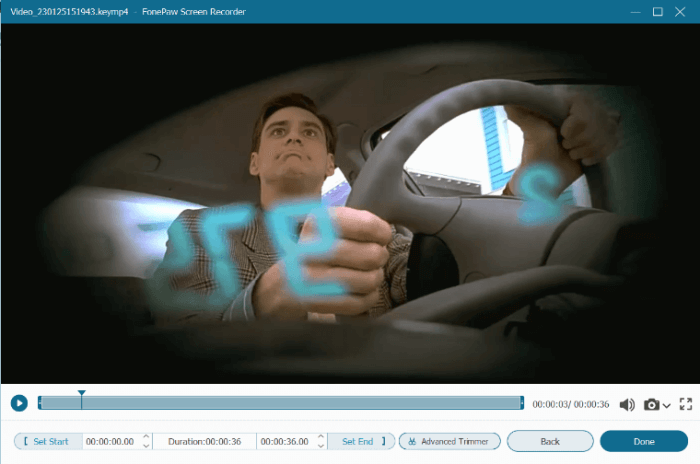
You can view the recording or edit it if you want. When everything is fine, click done and you can find the video in the folder you have selected.
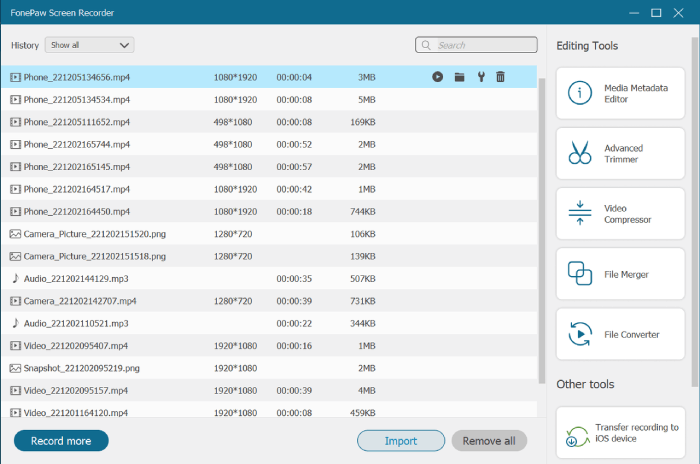
Step 5. Check the recorded video
You can check your recording history and view the videos and screenshots you have taken.
With a few clips, you successfully record a GoToMeeting session as an attendee. You can use the video below to help you understand the tutorial better.
Method 2: How to Record GoToMeeting as Organizer with Built-in Recorder
If you're the organizer of a GoToMeeting session, you can use the cloud and local recordings. Cloud recording is available as long as your admin has enabled it in the admin settings. The following steps will help you enable cloud recording:
Step 1. Go to the admin center and log in.
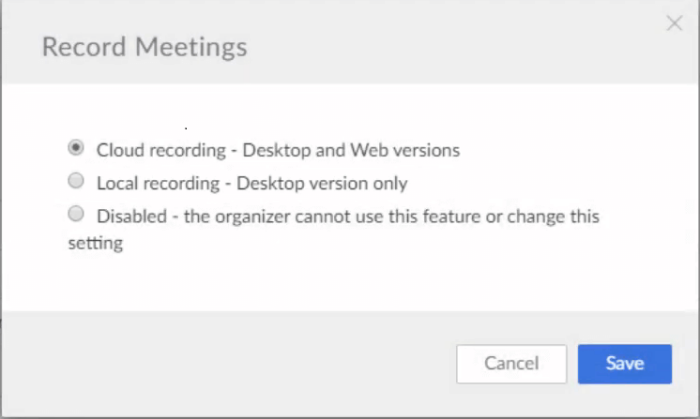
Step 2. Turn to Single User Setting and choose the Status of Record Meetings.
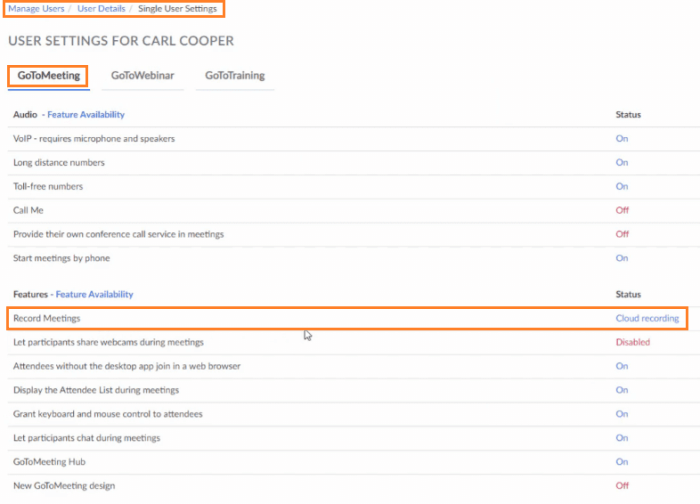
Step 3. Choose "Cloud recording" and save the setting.
Now that cloud recording is available, you can start and stop recording anytime you want in any session. The guide below shows you how to record GoToMeeting with the built-in recording features.
Step 1. Join or start a meeting
Step 2. Start recording
Click the record button in the lower left and you will hear the notification of the video being recorded.

When the button turns red, it means the session is being recorded. You can click the button again to pause the recording. By clicking the same button, you resume the recording. You can pause and resume the recording as many times as is needed.

Step 3. Check the recorded files
When the session is over, you can find the cloud recording in your web account. If you record the session locally, you can find it in the selected folder on your PC.
 Note:
Note:
- If you want to use local recording, you will have to download the desktop application.
Convenient as the function is, you must have a GoToMeeting Pro or Plus tier account to record GoToMeeting. Moreover, your cloud recording feature should be activated by an account admin. If you turn to local recording, you need to have at least 5GB of free space in your local document folders.
Given the restrictions, FonePaw Screen Recorder is a better choice to record a GoToMeeting. It's not only a handy and flexible recorder free of the trouble mentioned above, but also a helpful editor.
FAQs about Recording GoToMeeting
1. Where are GoToMeeting Recordings Stored in GoToMeeting App?
It depends on the modes of recording you use. Two different storage locations from different recording types are as follows.
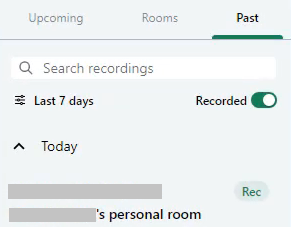
Cloud recording: Files are automatically saved in your GoTo app. You can view them in Meetings -> Past (please remember to enable the Recorded toggle).
Local recording: Files are stored either in your selected folder or, by default, in your computer's Document folder.
2. How to Share GoToMeeting Recordings?
If you want to preview and discuss the GoToMeeting with your friends, you can follow these guides to share it with them.
Cloud recording: You can share the GoToMeeting recordings directly after copying the link in Meetings -> Past.
Local recording: You need to spend some extra time and manually convert the. G2M files into .MP4 with the help of Recording Manager. If you don't know how to do that, follow these steps:
Step 1. Right-click the program and select Convert Recordings.
Step 2. Select the files you want to convert and decide on the output format.
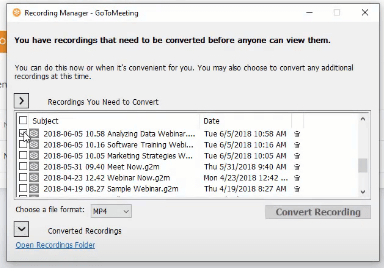
Step 3. Click Convert Recording.
Step 4. Wait for processing till your files have been successfully converted.
Conclusion
This post shares two methods of how to record GoToMeeting on your PC. You can use cloud or local recording of GoToMeeting if you're the organizer or co-organizer of a virtual conference. But GoToMeeting has restrictions on recording permission and conversion. Given all the trouble, independent software like PonePaw Screen Recorder is recommended since it offers better, quicker, and all-in-one services, such as recording microphone and system sound simultaneously, and locking the recording windows to avoid being disturbed by other windows.
