


When you watch YouTube videos online, you may want to save specific videos and burn them into the DVD so that you can watch it without the Internet. For example, you can watch them with your family members during the holiday and use the television to watch the DVD.
This post is going to show you how to download YouTube videos (opens new window) and burn them on a DVD.
1. Save YouTube Videos to Computer
To burn a YouTube video to DVD, the first thing you should do is save the video on your computer. And one of the methods to download YouTube videos is recording. Here we would like to take FonePaw Screen Recorder (opens new window) as an example. With it, you can record and save the video while watching it. And one of its attractive features is that it can record the selected area. You can adjust the recording area and those needless things on the desktop will not be recorded. The recording steps are simple and quick to learn.
Step 1 Download and install FonePaw Screen Recorder.
Free Download Buy with 20% off Free Download Buy with 20% off
Step 2 On the homepage, you will see three options.
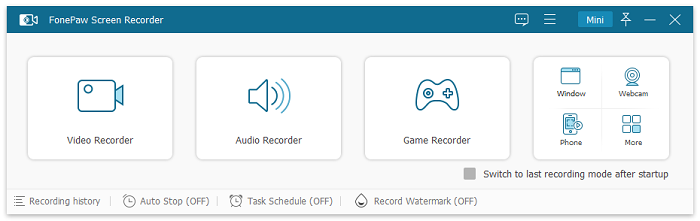
Choose Video Recorder and set the recording area. You can drag the cross cursor to customize the recording area. Or, you can play the movie in fullscreen mode and record the whole screen.
Step 3 Click the REC button to begin the recording.
If needed, you can also add annotations, or draw lines in the recording.
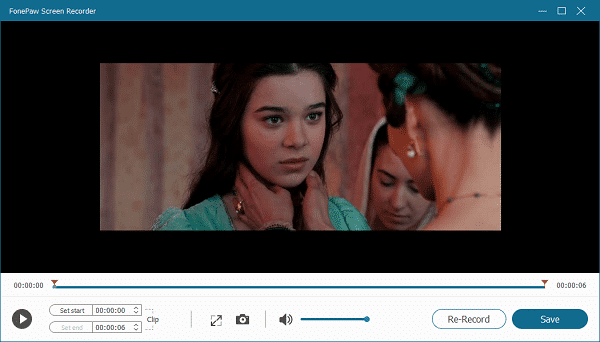
Step 4 Preview and save the video on your computer. When the recording finishes, click the red square button to stop the recording.

You can preview the video and cut the unwanted part. If you are not satisfied with the recording, click Re-Record to record again and the original video will not be saved.
2. Burn YouTube Videos to DVD
Once you saved the video on the computer, you can burn it to the DVD on your computer. Steps are a little different on Windows computers and Mac. Follow the steps below depending on your situation.
Note:
Before you begin, don't forget to insert a blank DVD into your computer.
Burn YouTube Video to DVD on Windows
As for Windows users, Windows has the built-in feature named Burn files to discs. But the prerequisite is that your computer has a CD/DVD drive. You can use an external DVD drive instead.
When you insert the DVD into the drive, a window will pop up and ask you what to do with the blank DVD.
Click Burn and the Burn a disk window will open. Then type in the disc name for the DVD. And remember to choose With a CD/DVD player.
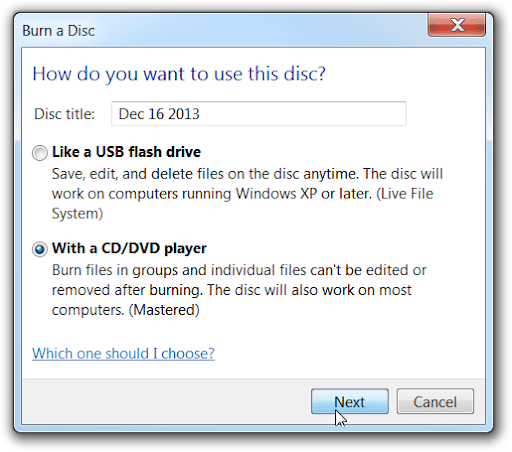
Click Next to continue and this will open the DVD drive in a new window and copy the files you want to burn to the burner drive window.
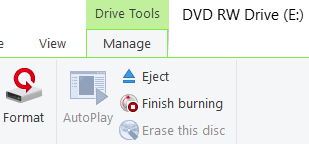
Next, click on the Drive Tools tab and you will see Finish burning. Once it is finished, the disc should automatically eject from the drive.
Burn YouTube video to DVD with Windows Media Player
For Windows users, Windows Media Player is a built-in tool to burn the DVD.
Step 1 Open Windows Media Player by searching it on the search bar.
Step 2 On the right side of the Player, you will see the Burn tab.
Step 3 Press Windows key + E to open the Windows File Explorer. Then add the video file onto the burn list.
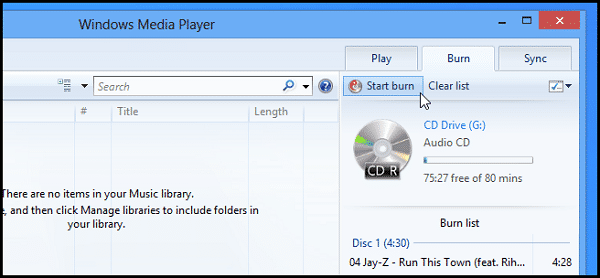
Step 4 Click Start burn and it will take a few minutes to finish the burning.
Burn YouTube Video to DVD on Mac
Most Mac computers don't have a CD/DVD drive. Thus, if you are going to burn videos to DVD on Mac, you should insert a CD/DVD drive first.
Step 1 Download the Burn app on your Mac.
It allows you to copy videos from your Mac to the blank DVD.
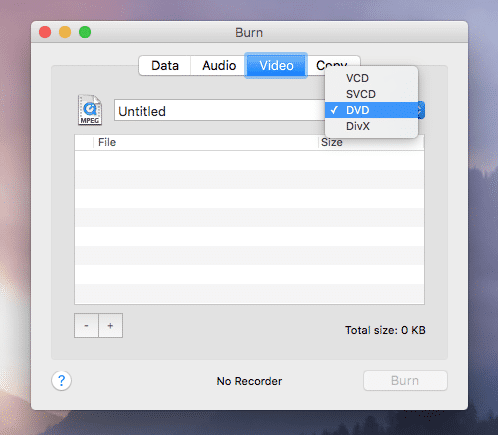
Step 2 Launch Burn and choose Video.
You can type a name for your DVD in the text field. Next to the text field, you will see a drop-down menu from which you can choose the DVD type.
Step 3 Click the Burn menu > Preferences > Video.
From the Region drop-down menu, select NTSC. It sets the file format of the DVD so that the DVD player can read your disc.
Step 4 Go to Finder and find your video.
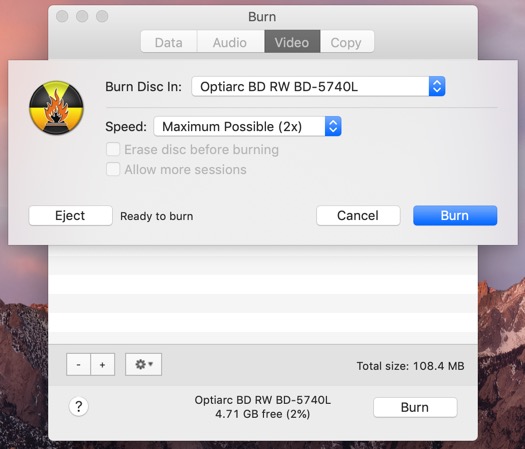
Drag and drop it into Burn. Click the Burn button to choose the speed to burn the DVD.
Click on the Speed drop-down list and select 4x. It ensures the video is copied without losing quality.
Then click Burn again to begin the process. Once it is done, you will see it on your desktop.
Let's have a quick review:
First, record and save the YouTube video on your computer with FonePaw Screen Recorder (opens new window).
Second, for Windows users, use Burn a disc or Windows Media Player to burn the videos to DVD.
For Mac users, download the Burn app to burn the YouTube video to DVD.
In all, with a computer, a blank disc, and several programs, you can burn the YouTube videos to a DVD at home.