


The post shows you six methods to fix Time Machine backup disk won't connect. You can solve the problem with them or using a professional data recovery tool: FonePaw Mac Data Recovery. It helps you get back the files quickly and simply. If you want to save time and effort, download it and skip to the last part.
When you tried to restore from Time Machine, it reported an error message: "Backup Disk Not Available". Or "Can't connect to a current Time Machine backup disk."
How to access the Time Machine backup disk and what should you do to get your data back? Don't worry, in this post, we will show you several tips to save your files and repair Time Machine.
1. Turn off Time Machine
When your Time Machine backup disk is not available, the first thing you can do is turn off Time Machine and turn it back on.
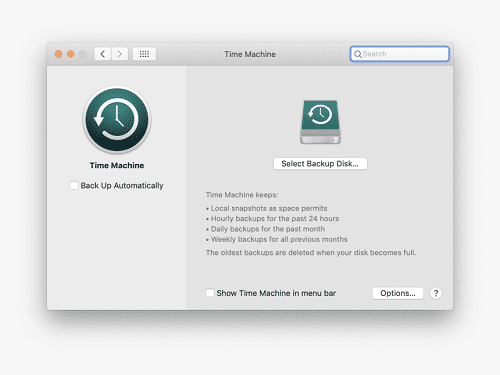
Step 1 Click the Apple icon in the top-right corner > System Preferences > Time Machine.

Step 2 Uncheck Back Up Automatically to turn off Time Machine.
Step 3 Right-click the drive > Eject [drivename]. Then turn the drive off or disconnect the cable.
Step 4 Turn on the power and plug in the drive again.
Step 5 Open System Preferences > Time Machine > Check Back up Automatically again.
2. Check the connection of your backup disk
- If your backup disk is connected to the Mac, make sure it is connected well, charged with a power source and turned on.
- If your backup disk is connected to a network, make sure your Mac and the disk are connected on the same network and the network is working well.
- If your backup disk is connected to another computer, make sure the computer isn't in sleep.
- If you are using Time Capsule as the backup disk, go to AirPort Utility to make sure it is set up properly and connected to the network.
3. Reset the Time Machine Preferences
If you erased your backup disk and began having trouble, re-select the backup list by opening Time Machine preferences.
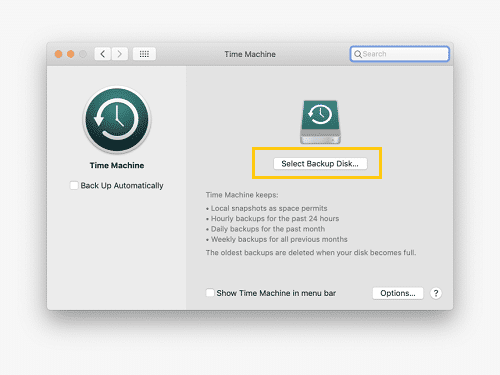
If you back up to the Time Capsule or other network disk that has the password and the password may have changed, log in to your Mac as an administrator > go to Time Machine preferences. Re-select the backup disk and enter the new password.
4.Repair Time Machine Running First Aid
Running First Aid on your external drive, Time Capsule, or any other storage device you are using as your Time Machine backup may help repair the Time Machine.
Step 1 Go to System Preferences > Time Machine > Uncheck Back up Automatically.
Step 2 Go to Disk Utility > Time Machine > First Aid > Run.
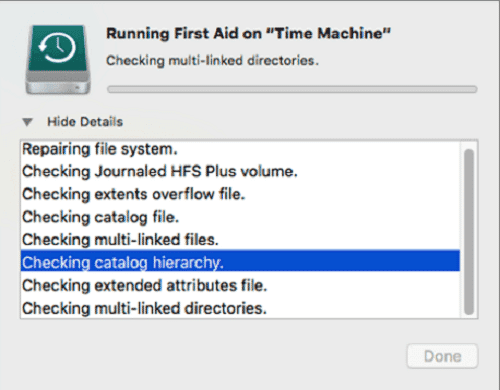
Wait till the examining process finishes and check whether your Time Machine works again. If not, move on to the next method.
5. Use the Command Line to fix backup disk not available
If you see a red sign or can't view your backup folder, this method may help you:
First, go to Terminal by clicking Finder > Applications Utilities folder > Double-click Terminal.
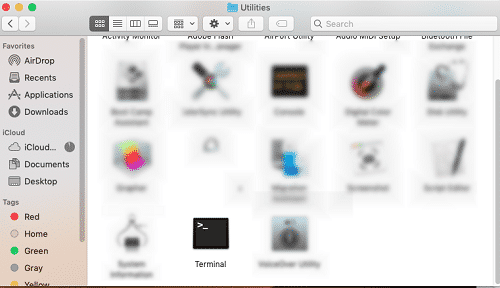
Second, copy the two command lines respectively and press Enter.
cd /Volumes/ [put the name of your Time Machine disk after /Volumes/]
sudo chgrp admin Backups.backupdb
The first command line gets you to the Time Machine drive.
The second command line gets your machine to the folder and its content. You will be asked to enter the password after it.
Now you can go back to Time Machine and check the backup disk.
6. Recover data on Time Machine
You may find it is a little complicated to fix the Time Machine and can't find the backup disk.
What should you do if you encounter the problem but you need the data urgently? FonePaw Mac Data Recovery will be a good choice for you. It is easy to use and restore your lost files without Time Machine (opens new window). The steps are simple:
Video Guide:FonePaw Data Recovery
Step 1 Download and launch FonePaw Mac Data Recovery.
Free Download Buy with 20% off
Step 2 Make sure your backup disk is connected firmly.
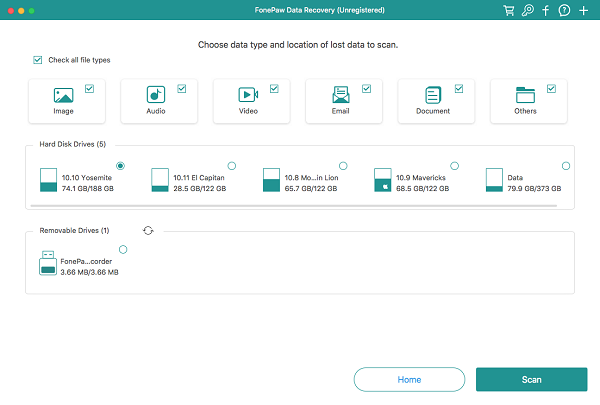
Step 3 Click Start and choose the types and path > Scan.
Notice:
To make it scan your files successfully, make sure your files are not backed up in Time Capsule, AirPort or other network drives.
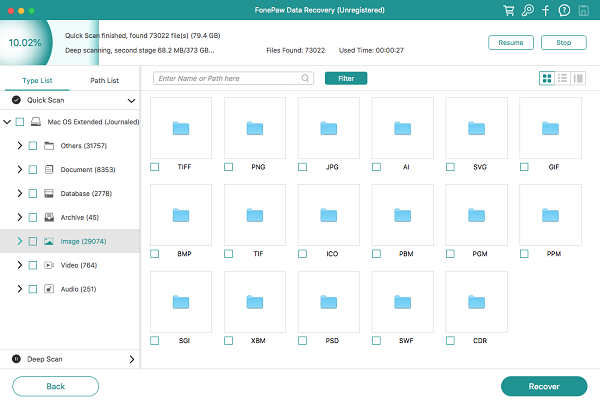
Step 4 Find the data you need in the quick scan results > Recover.
Step 5 When the process finishes, you can view the data in your Mac.
Isn't it a convenient way to restore your data when there's something worry with your Time Machine backup disk? If you cannot fix the backup disk or you think it's too difficult, why not give it a try?