As iPhone users, we might have heard about recovery mode at some point. But not all of us really know what recovery mode is and when to use recovery mode. So this article is going to cover all you should know about recovery mode on iPhone so that you could tackle certain situations on your own by using recovery mode.
Part 1: Basic Introduction to iPhone Recovery Mode
1) What is Recovery Mode on iPhone?
Recovery mode, which is also know as restore mode, is a method to force a restore or update on your iPhone by getting the iPhone to interface with the iTunes on your PC or Mac.
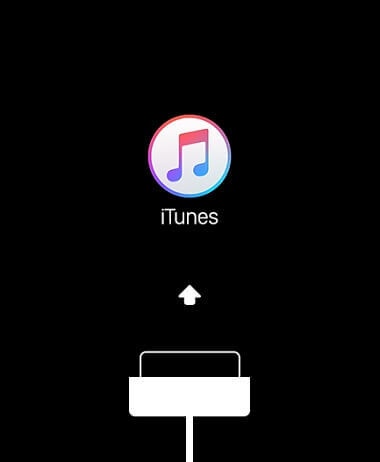
When you put your iPhone in recovery mode, it will load iBoot, a program which scans and tests any error in the current iOS firmware of your iPhone. Then you will have the options to update your iPhone to latest version or bring your iPhone to its original factory settings and restore it with iTunes or iCloud backup.
When there is something wrong with the iOS firmware or upgrade on your iPhone, the device will enter the recovery mode automatically.

2) Recovery Mode: Pros and Cons
Firstly, recovery mode is very useful:
Recovery mode is designed to prevent iPhone from further damage when things go wrong. So it could fix many iPhone problems including:
- iOS installation and upgrade error;
- Touchscreen issue;
- Uninstalling a bad beta, bypassing a forgotten passcode, reboot loop problem in iPhone and more.
However, there is side effect coming with restoring iPhone in recovery mode: Performing a restore in your iPhone will erase all settings and data and bring the iPhone back to factory state.
If you have made a recent backup of your iPhone, that's totally fine; but if you backups are made one or several months ago, it is inevitable that you'll lose the data created since your last backup.
Part 2: How to Put Your iPhone in Recovery Mode
To prepare for the recovery mode, please make sure that you're using the latest version of iTunes. If not, update your iTunes to the newest version.
Step 1 Close iTunes on your computer if it is on. Then connect the iPhone to your computer using lightning cable. After connecting, open iTunes.
Step 2 The operation to enter recovery mode is different in iPhone 8/8 Plus, iPhone 7/7 Plus or earlier.
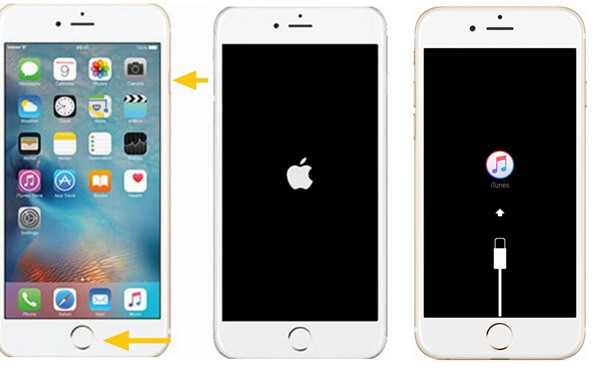
For iPhone 6s and earlier: Press and hold the "Sleep/Wake" and "Home" buttons at the same time. Don't release the buttons when you see the Apple logo. Keep holding both buttons until you see the recovery mode screen.

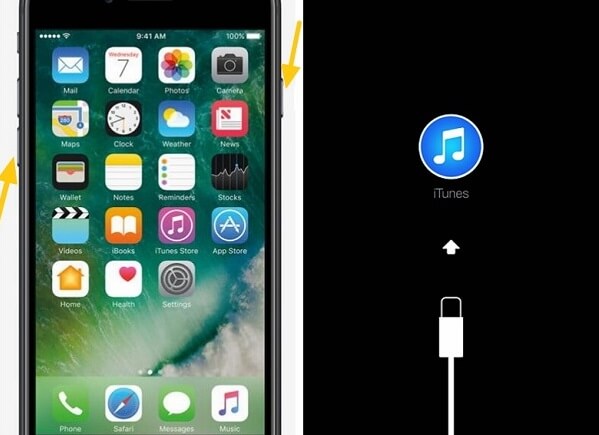
For an iPhone 7 or iPhone 7 Plus: Press and hold the "Sleep/Wake" and "Volume Down" buttons at the same time. Don't release the buttons when you see the Apple logo. Keep holding both buttons until you see the recovery mode screen.

For an iPhone 8, iPhone 8 Plus, X: Power off the device. Then press and quickly release the Volume Up button. Next press and quickly release Volume Down. Finally, press and hold the Side button until seeing the recovery mode scree.
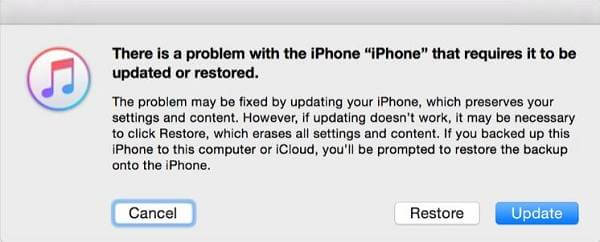
Step 3 After your iPhone has entered into recovery mode, you will see three options in iTunes: "Cancel", "Restore" or "Update".
- If you choose "Update", iTunes will try to reinstall the latest iOS to your iPhone without erasing any data.
- But if the iOS download takes more than 15 minutes and your device exits recovery mode, let the download finishes, then repeat these steps to re-enter recovery mode. This time, choose "Restore", which will erase all contents on your iPhone and restore it from backups.

Part 3: FAQ About Recovery Mode
Q1: Will recovery mode deletes all data on my iPhone?
A1: Yes, if you choose restore iPhone in recovery mode, it will delete all contents in your phone. But you can recover the contents with iCloud or iTunes backups.
Q2: What to do if I lose my data after restoring iPhone from the recovery mode?
A2: You can try to recover the lost data with FonePaw iPhone Data Recovery, which allows you to recover lost data directly from iPhone, iTunes backups or iCloud backup.
Q3: How to exit recovery mode?
A3: Normally, after updating or restoring the iPhone, the iPhone will exit recovery mode.


